Archive: This content is maintained for historical reference. Please note that the specific versions and commands may no longer be compatible with modern systems.
In this guide, I will show you the steps required to create a WordPress blog on Windows. I am performing a manual installation for this tutorial, as I believe it helps you learn how all the individual applications are configured.
If you prefer a quicker method, you can simply use: https://webgallery.microsoft.com/apps/WordPress
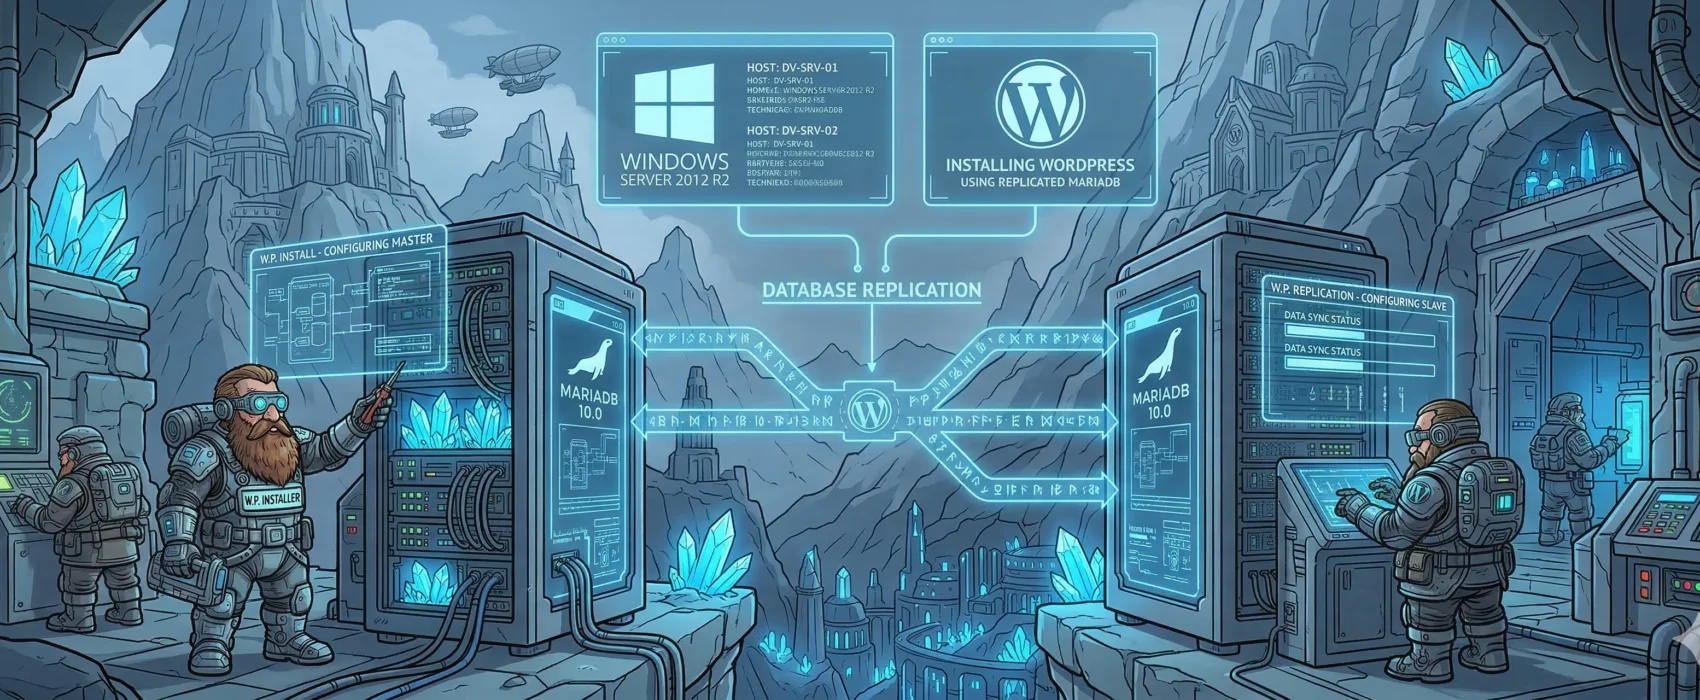
For this setup, I used the following servers running Windows Server 2012 R2:
- wordpress01: 192.168.1.46 / 4GB RAM / 2 CPU
- mariadb01: 192.168.1.47 / 4GB RAM / 2 CPU
- mariadb02: 192.168.1.48 / 4GB RAM / 2 CPU
- Workgroup: ULYAOTH
You can, of course, install everything on a single server. In that case, simply skip the MariaDB replication steps and perform a single MariaDB database installation on the same server as WordPress.
Now, let’s get to work!
Step 1: Download MariaDB (Only on servers mariadb01 and mariadb02)
You can download MariaDB from: https://www.mariadb.org
Step 2: Install MariaDB (Only on servers mariadb01 and mariadb02)
Start the installation by double-clicking the mariadb-10.0.12-winx64.msi file.
You should now see a screen like this:
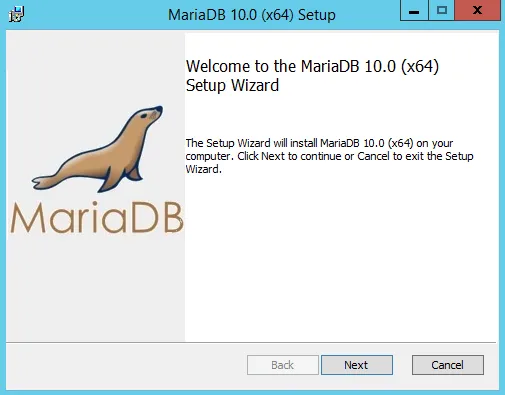
Simply click Next.
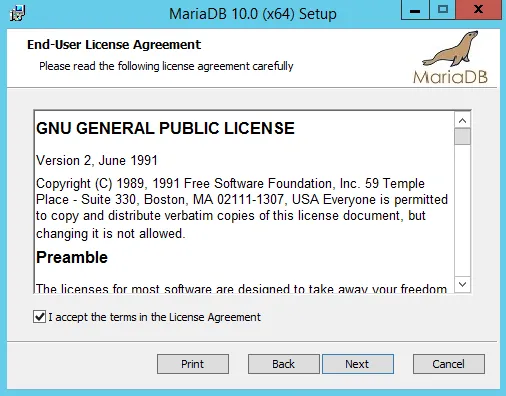
On this window, check the box “I accept the terms in the License Agreement” (after reading the terms, of course!) and then click Next.
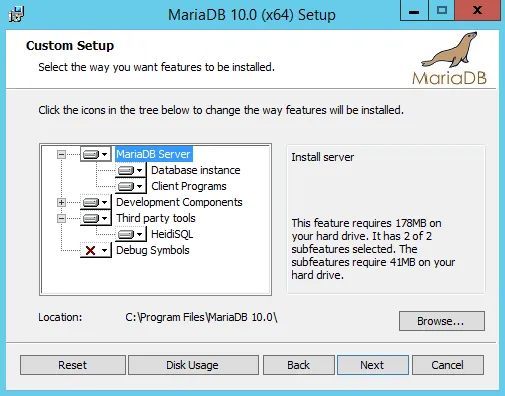
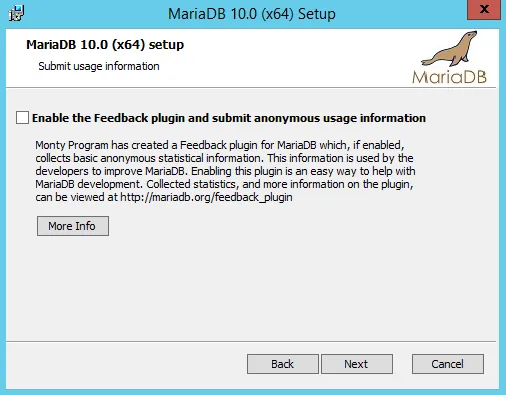
The default settings are fine on this window, so click Next again.
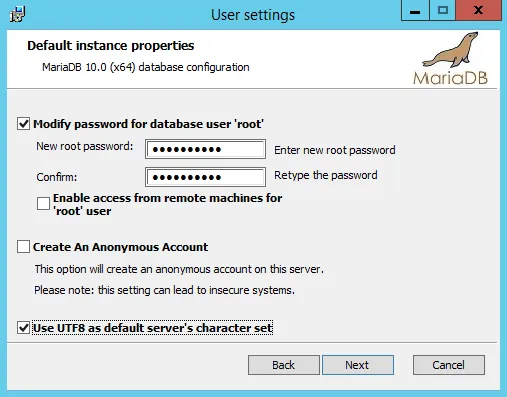
On this window, enter a “root” password for the MySQL admin account. I typically also check “Use UTF8 as default server’s character set”; however, if you only use English, you can ignore this.
Click Next.
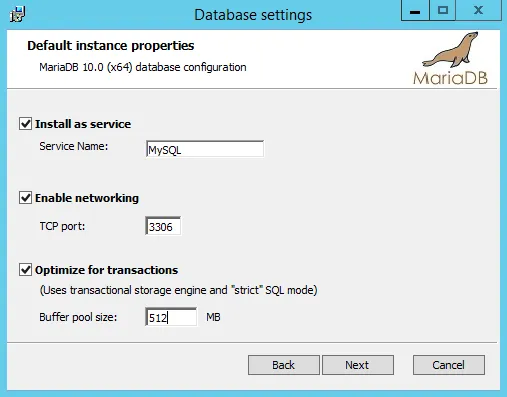
Leave everything as default on this page and click Next. (I changed the Buffer Pool Size to 512MB, but this is not required).
Since my two database servers do not have an internet connection, I will simply click Next on this window.
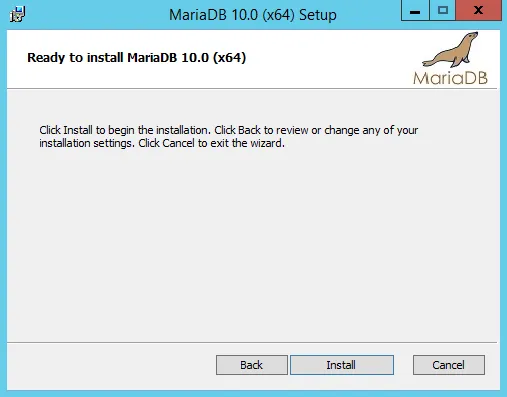
Click Install to begin the MariaDB installation.
Congratulations you now have installed MariaDB so just click on “Finish” to close the installation.
Step 3: Change the MariaDB configuration files (Only on servers mariadb01 and mariadb02)
Open C:\Program Files\MariaDB 10.0\data\my.ini on mariadb01, under the [mysqld] section, add the following:
server-id=1
log-bin=mysql-bin
binlog_format=mixed
On mariadb02, under the [mysqld] section, add the following:
server-id=2
log-bin=mysql-bin
binlog_format=mixed
Step 4: Restart the database servers (Only on servers mariadb01 and mariadb02)
Reboot the Windows servers to verify that MariaDB starts automatically and that the new configurations take effect.
Step 5: Open the Graphical MariaDB user interface (Only on servers mariadb01 and mariadb02)
Start HeidiSQL, which was installed alongside MariaDB.
You should see a window like this once it starts:

Click New in this window.
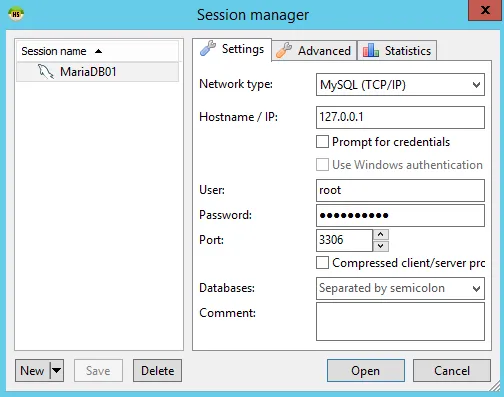
Name your session “MariaDB01” or “MariaDB02” depending on which server you are on. Enter your root password, click Save, and then click Open.
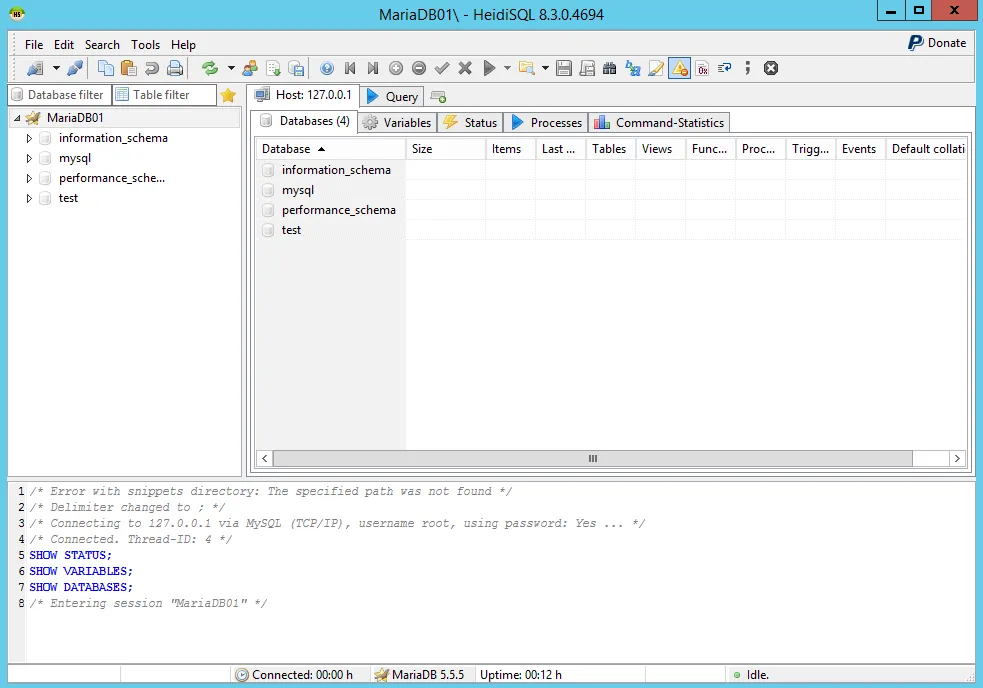
You should now see the main interface:
Step 6: Create a replication user (mariadb01 only)
Inside the graphical interface, click on the Query tab next to “Host: 127.0.0.1”.
In the Query tab, add the following:
GRANT REPLICATION SLAVE ON *.* TO 'repl'@'%' IDENTIFIED BY 'replication007';
GRANT REPLICATION SLAVE ON *.* TO 'repl'@'192.168.1.48' IDENTIFIED BY 'replication007';
FLUSH PRIVILEGES;
SHOW MASTER STATUS;
Press the Run button. It should look like this:
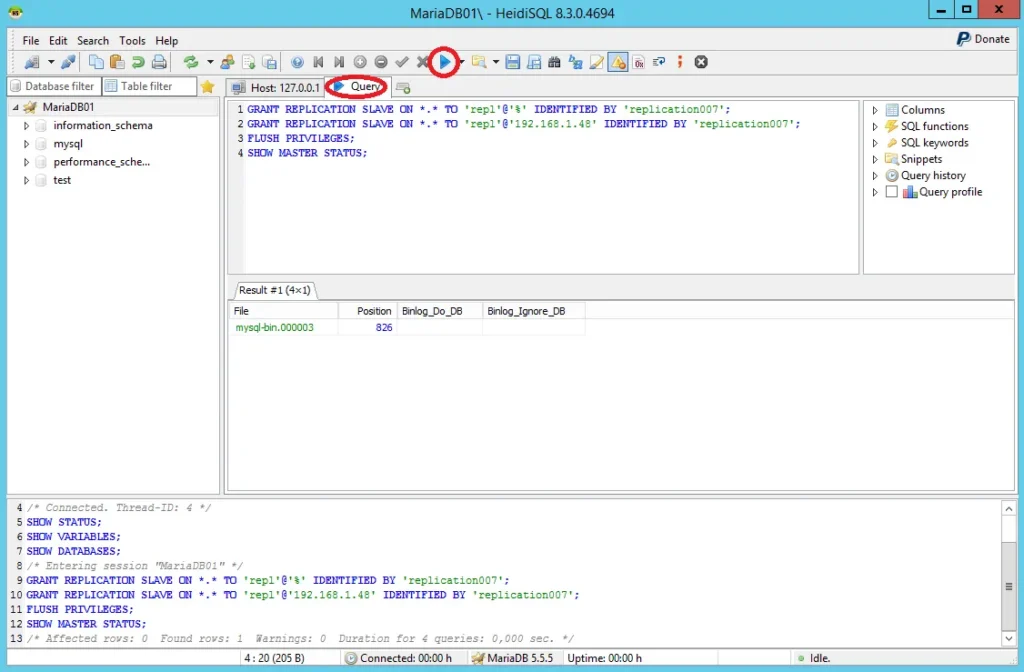
Note the results shown. For me, they are:
File: mysql-bin.000003
Position: 826
Step 7: Configure the slave (mariadb02 only)
Inside the graphical interface, click on the Query tab next to “Host: 127.0.0.1”.
In the Query tab, add the following (replace the log file and position with your results from Step 7):
STOP SLAVE;
CHANGE MASTER TO MASTER_HOST='192.168.1.47', MASTER_USER='repl', MASTER_PASSWORD='replication007', MASTER_PORT=3306, MASTER_LOG_FILE='mysql-bin.000003', MASTER_LOG_POS=826;
START SLAVE;
SHOW SLAVE STATUS;
It should look like this:
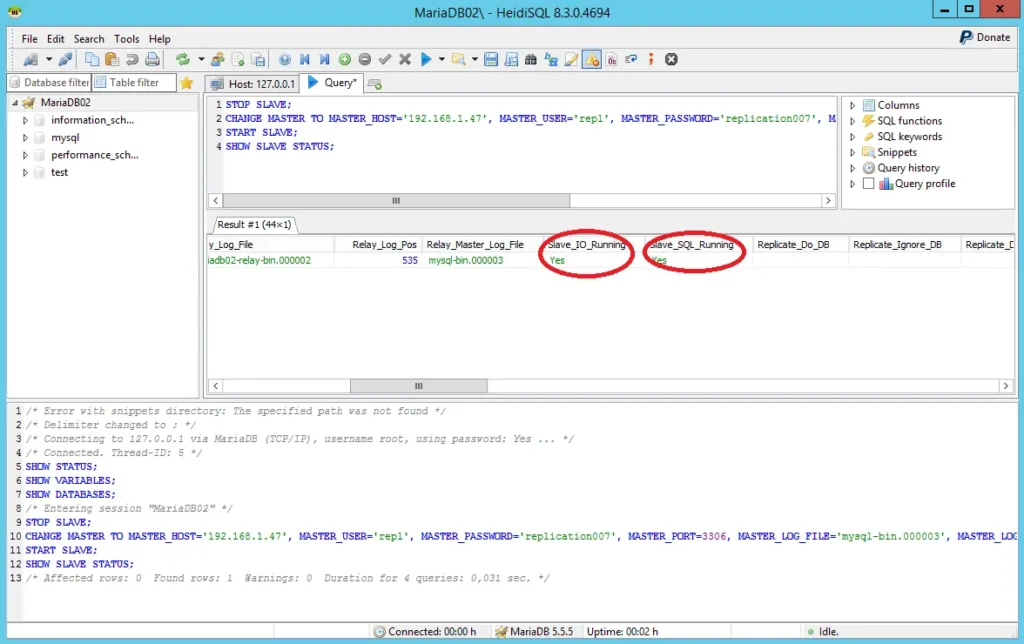
Check the results window; it should state:
Slave_IO_Running: Yes
Slave_SQL_Running: Yes
if you do not see this, ensure the IP address in MASTER_HOST='192.168.1.47' matches your mariadb01 server.
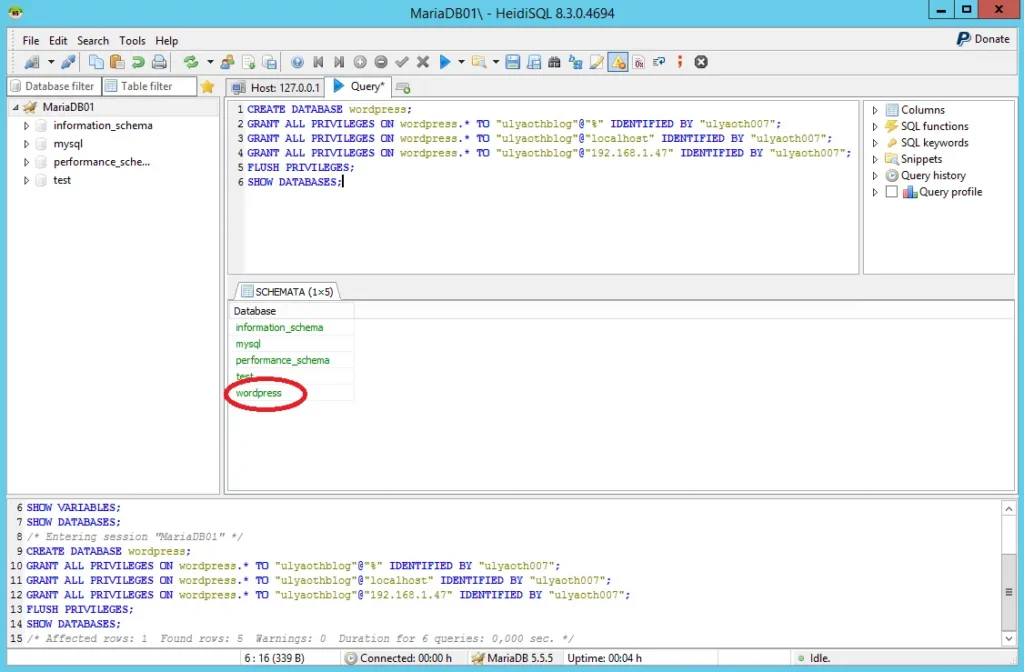
Step 8: Create the WordPress database (mariadb01 only)
In the Query tab, add the following:
CREATE DATABASE wordpress;
GRANT ALL PRIVILEGES ON wordpress.* TO "ulyaothblog"@"%" IDENTIFIED BY "ulyaoth007";
GRANT ALL PRIVILEGES ON wordpress.* TO "ulyaothblog"@"localhost" IDENTIFIED BY "ulyaoth007";
GRANT ALL PRIVILEGES ON wordpress.* TO "ulyaothblog"@"192.168.1.47" IDENTIFIED BY "ulyaoth007";
FLUSH PRIVILEGES;
SHOW DATABASES;
It should look like this:
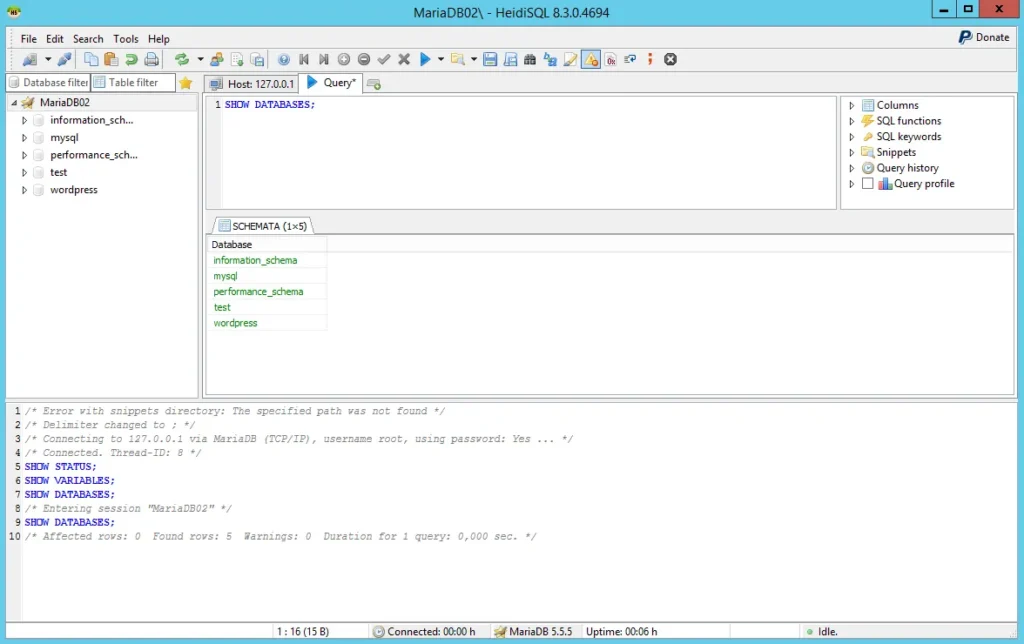
Step 9: Test if replication works (mariadb02 only)
In the Query tab, add the following:
SHOW DATABASES;The WordPress database should now appear on your slave server as shown below:
Congratulations! You have finished the database portion. Keep the following information handy:
Database name: ulyaothblog
Password: ulyaoth007
(I assume you have changed these to something more secure!)
Now, let’s create the WordPress server itself.
Step 10: Install IIS
Open Server Manager and select Add Roles and Features Wizard. From the list, choose Web Server (IIS). Be sure to also select and install the CGI module! Proceed with the installation.
Step 11: Download WordPress
Visit https://wordpress.org/download/ and download WordPress.
Direct URL: https://wordpress.org/latest.zip
Step 12: Extract WordPress
Extract the WordPress files to C:\ulyaoth\wordpress\.
Step 13: Download PHP
Go to https://windows.php.net/ and download PHP.
Direct link: https://windows.php.net/downloads/releases/
Step 14: Extract PHP
Extract the PHP files to C:\PHP\.
Step 15: Add PHP to your System Path
Right-click This PC and choose Properties. On the bottom right, next to your computer name, click Change settings.
In the window that opens, go to the Advanced tab and click Environment Variables.
Under System Variables, find Path in the list and click Edit.
In the “Variable Value” field, go to the very end of the line and add ;C:\PHP.
It should look like this:
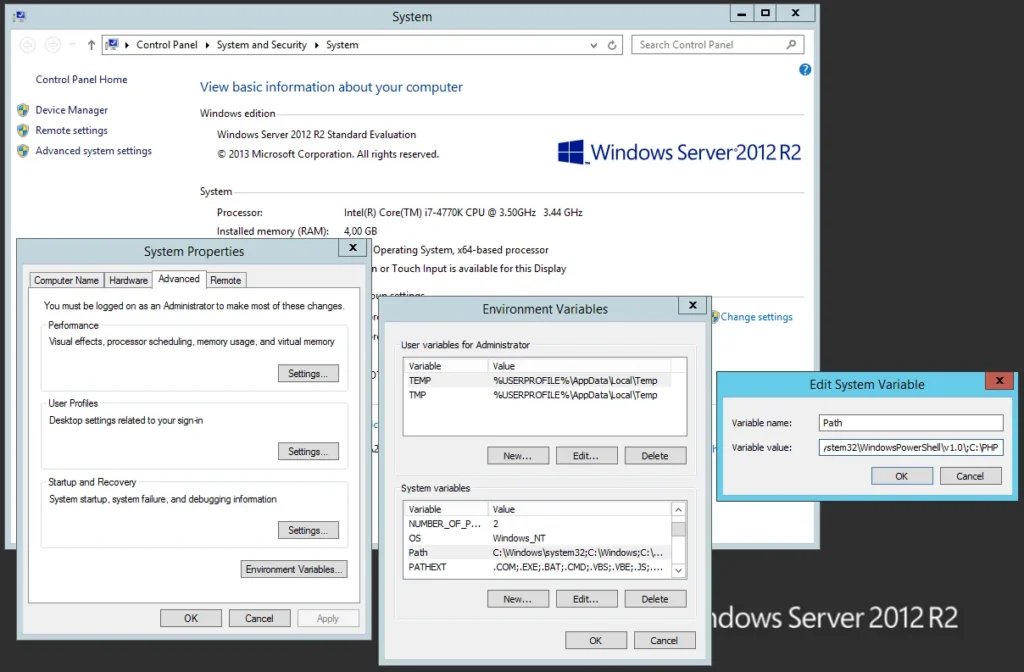
Click OK three times to save your changes.
Step 16: Rename php.ini config
Go to C:\PHP\ and rename the file php.ini-production to php.ini.
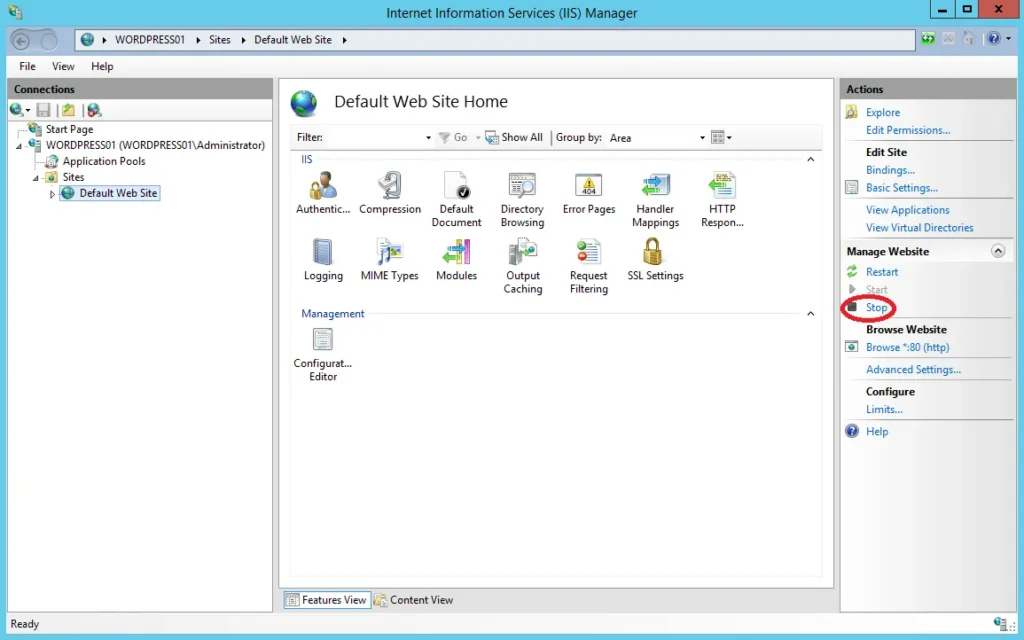
Step 17: Open IIS Manager and stop the “Default Web Site”
Click the Stop button as shown in the image below:
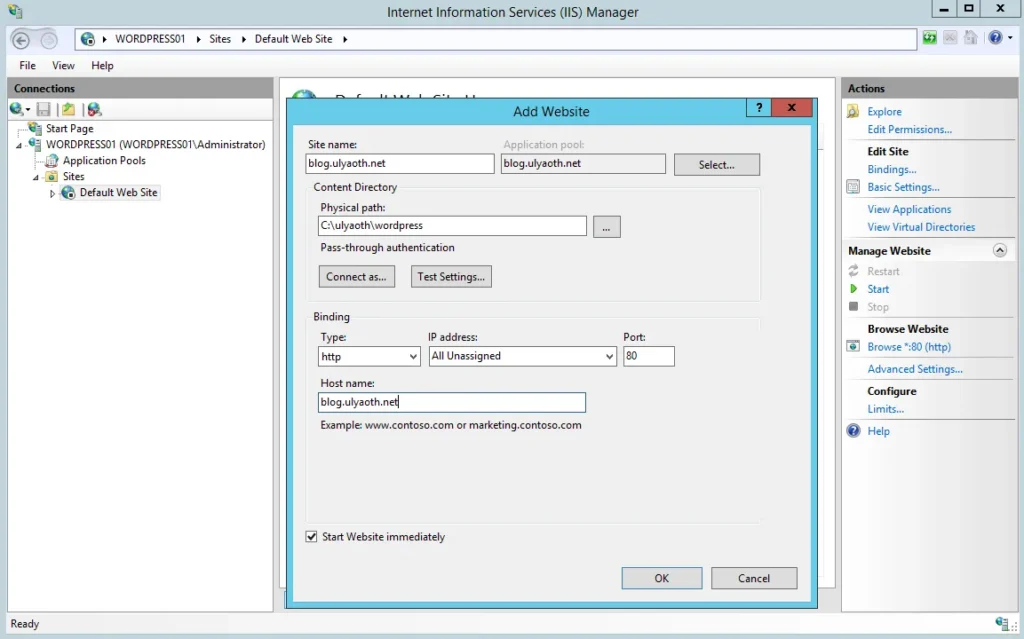
Step 18: Create a new website for your blog
Right-click Sites in the left pane of IIS Manager and click Add Website.
Fill in the details as shown here:
Step 19: Enable IIS to execute PHP scripts
While in IIS Manager, click on your website and double-click Handler Mappings. Right-click in the window and choose Add Module Mapping.
Fill it in as follows:
Request path: *.php
Module: FastCgiModule
Executable: C:\PHP\php-cgi.exe
Name: PHP
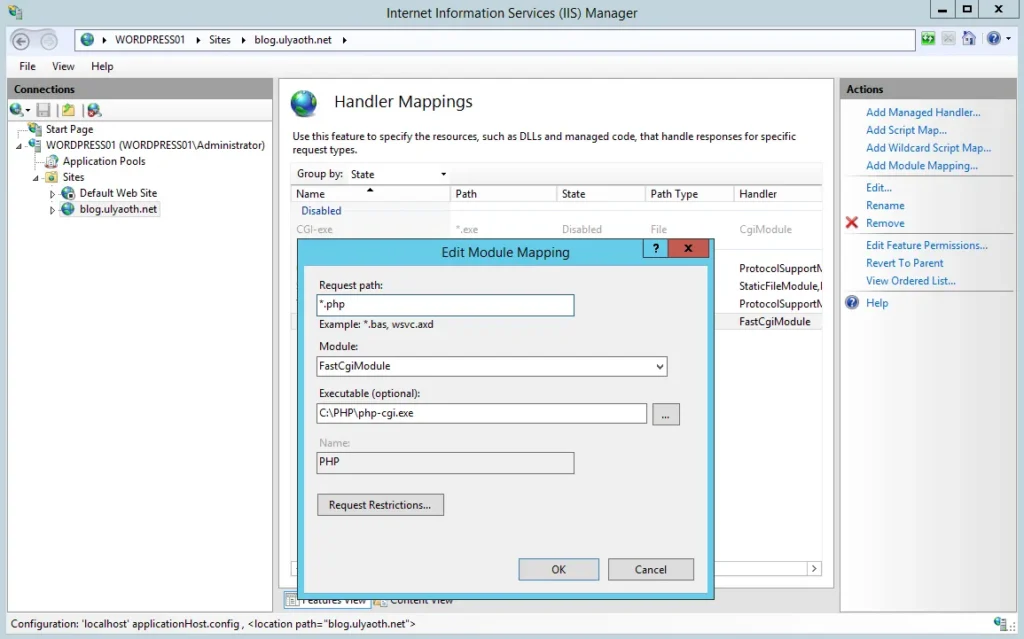
If it matches the image, click OK.
If you do not see “FastCgiModule,” you likely missed the CGI module installation in Step 11.
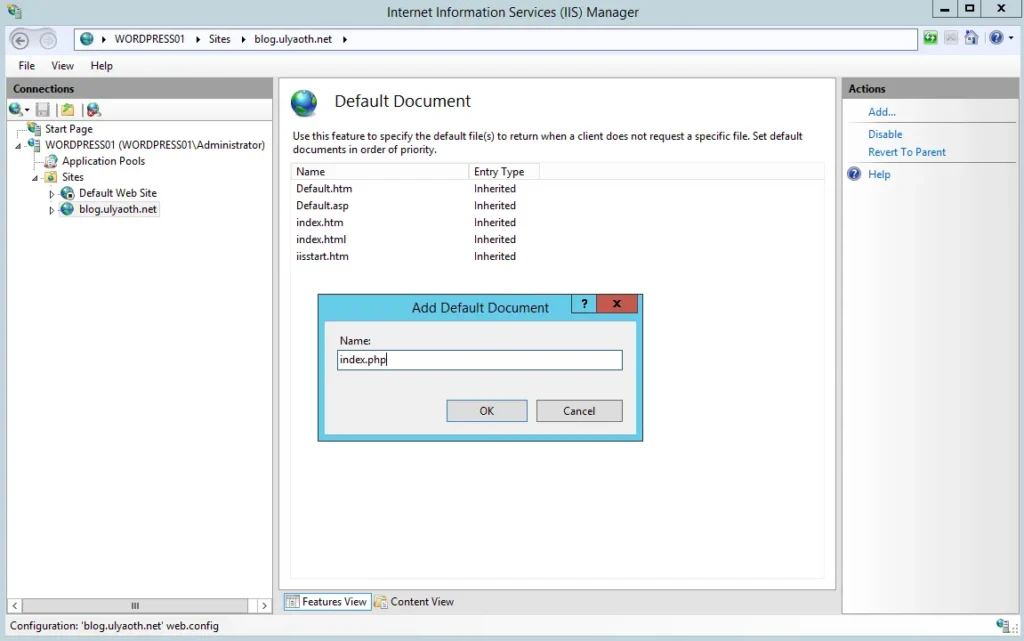
Step 20: Add “index.php” as a Default Document
In IIS Manager, click on your website and double-click Default Document. Right-click and choose Add.
Name: index.php
It should look like this:
Step 21: Download Visual C++ Redistributable for Visual Studio 2012
Download the installer here: https://www.microsoft.com/en-us/download/details.aspx?id=30679
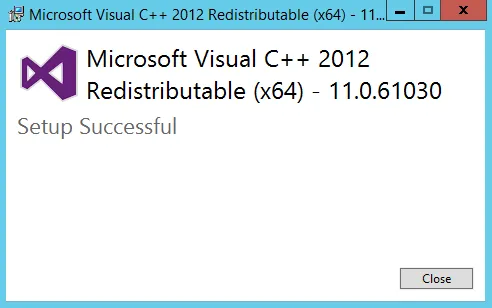
Step 22: Install Visual C++ Redistributable
Double-click vcredist_x64.exe to install. Check “I agree to the license terms and conditions” and click Install.

Once finished click Close.
Step 23: Edit php.ini
Open C:\PHP\php.ini and modify the following lines:
Change: ;date.timezone =
To: date.timezone = Europe/Stockholm
(You can find your specific time zone at https://secure.php.net/manual/en/timezones.php)
Also, Change: ;extension=php_mysql.dll
To: extension=C:\PHP\ext\php_mysql.dll
Step 24: Install WordPress
Navigate to your domain (e.g., https://blog.ulyaoth.net) and follow the steps below.
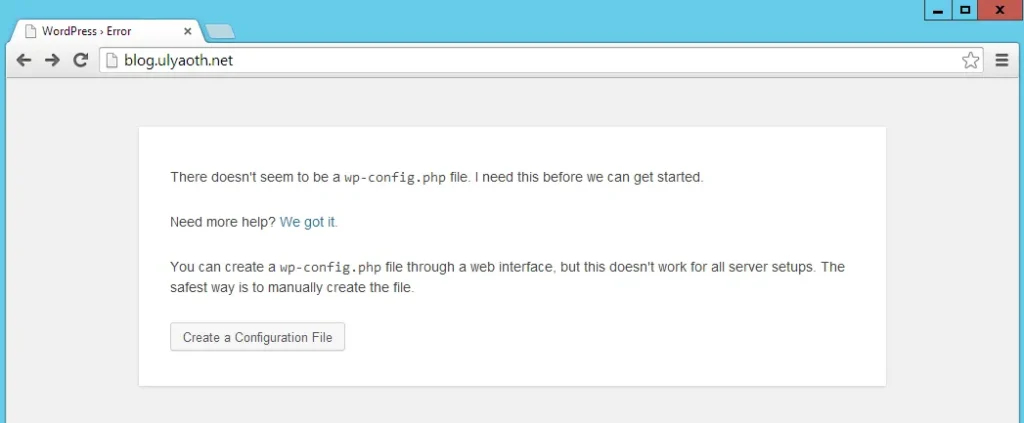
Click Create a Configuration File.
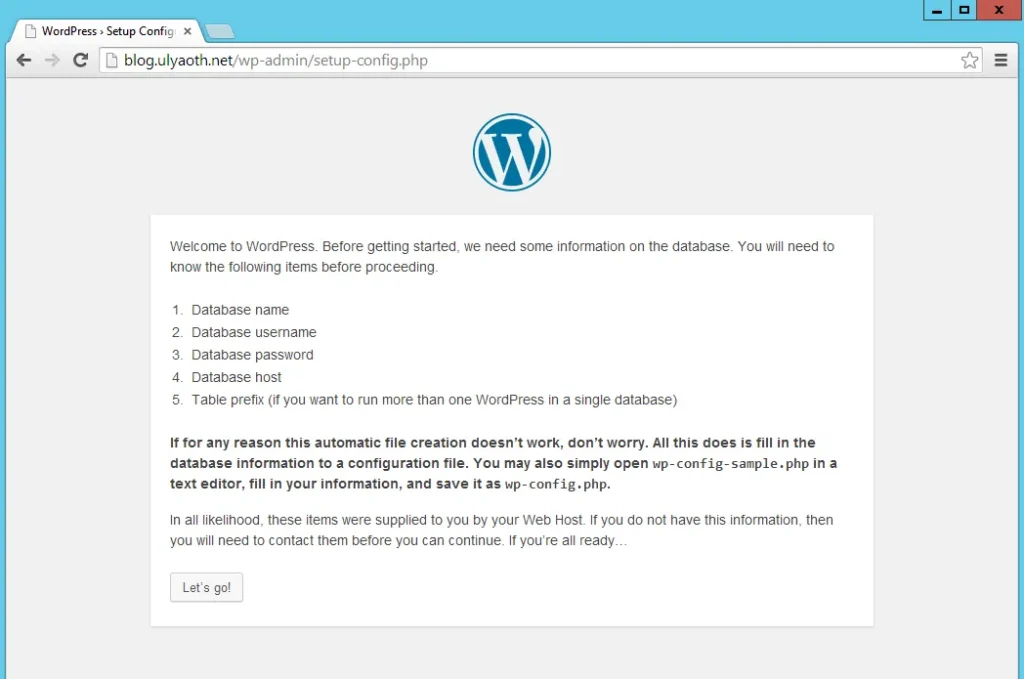
Click Let’s go!.
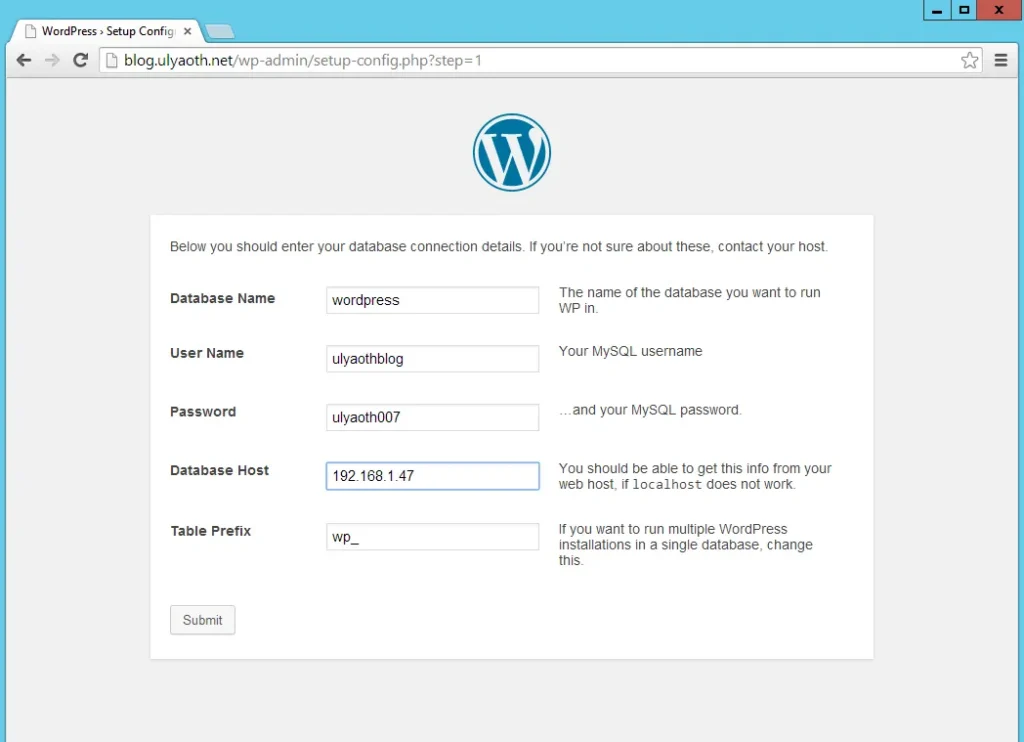
Enter the database information from the previous steps and click Submit.

On this tab, copy all the provided text. Open Notepad, paste the content, and save the file as wp-config.php in C:\ulyaoth\wordpress\.
Once saved, click Run the install.
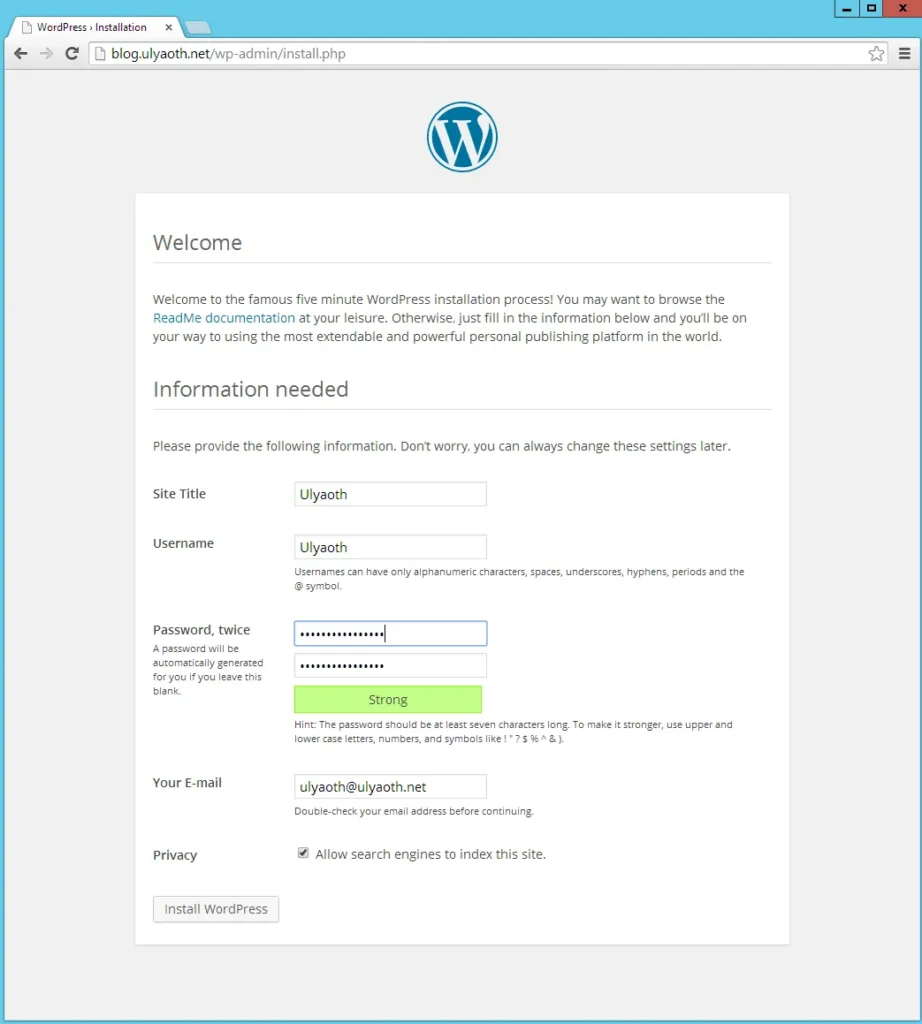
Fill in your site details as desired and click Install WordPress.
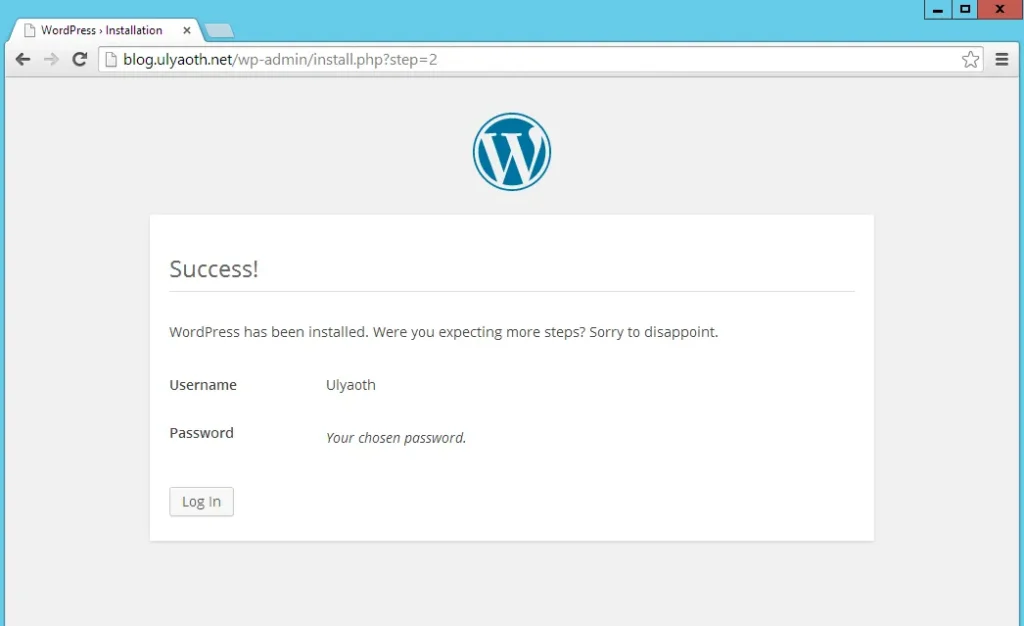
Congratulations! You have successfully installed WordPress. Click Log in to access the dashboard.
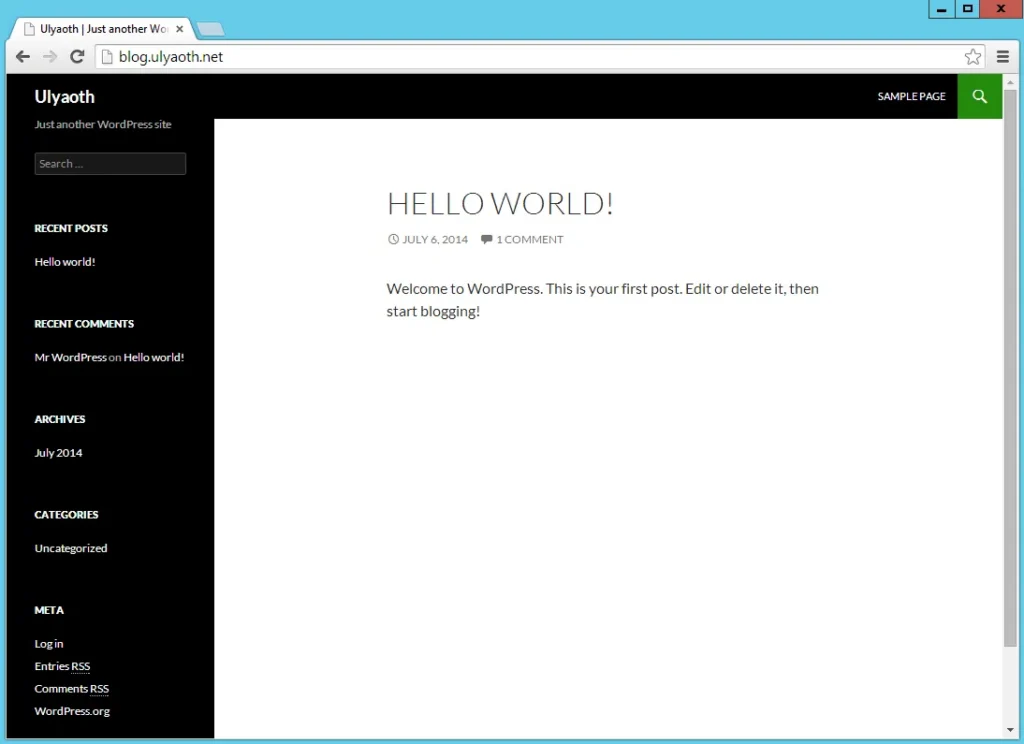
Your website is now up and running!
While there are easier ways to install WordPress, doing it manually helps you learn the inner workings of IIS, PHP, and Master/Slave database setups.
I hope this helps someone! 🙂