Archive: This content is maintained for historical reference. Please note that the specific versions and commands may no longer be compatible with modern systems.
In this guide, I will show you some simple steps to set up a MongoDB installation with replication on Windows Server.
This guide was tested with:
- Windows Server 2016
I am using AWS for this setup and have created three servers with Windows Server 2016 installed.
- Server Type: t2.large (The T series is probably not a good match for a production database; however, for this tutorial, it is cheap and will do its part.)
- mongodb01: 172.31.22.128
- mongodb02: 172.31.27.75
- mongodb03: 54.154.36.169
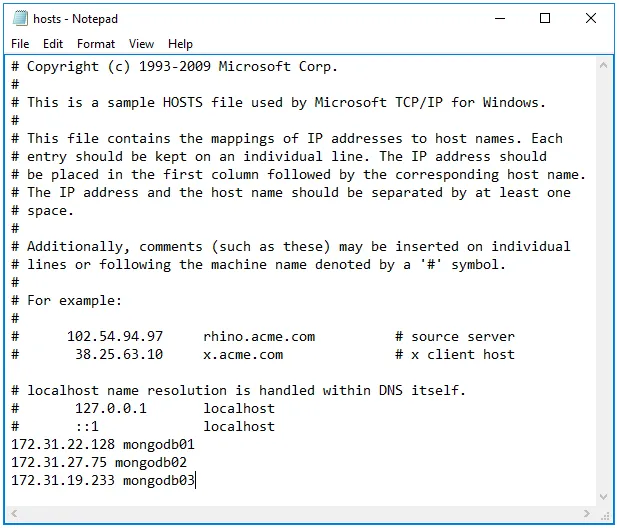
Prerequisite: All servers must be in the same workgroup or domain. If they are not, you must add all the servers to your hosts file so MongoDB knows how to connect to them.
So, let’s start!
Step 1: Download MongoDB (on all three servers)
MongoDB provides Windows installer packages, so simply download the MSI file from their website at https://www.mongodb.com/. Link: https://fastdl.mongodb.org/win32/mongodb-win32-x86_64-2008plus-ssl-3.4.4-signed.msi
Even though it says “Windows Server 2008,” it works perfectly on Windows Server 2016!
Step 2: Install MongoDB
Follow the pictures below to install MongoDB. You must do this on all three servers.
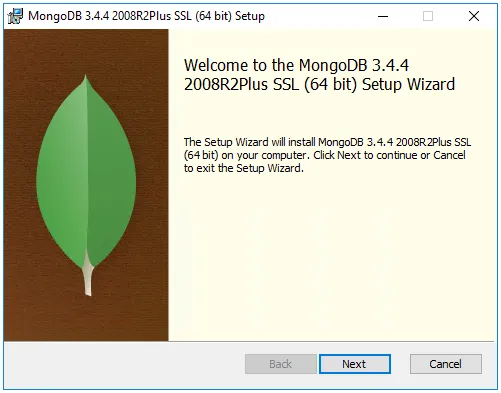
Just press Next on the screen above.
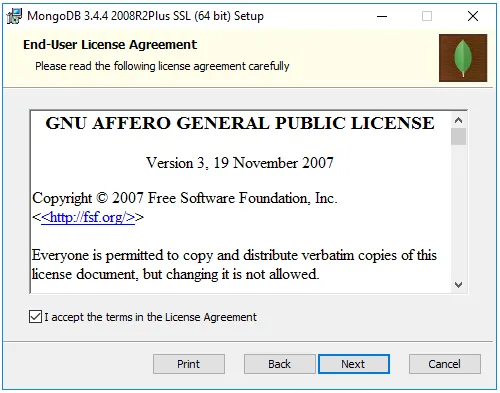
Read the license, tick the box to accept the terms, and press Next.
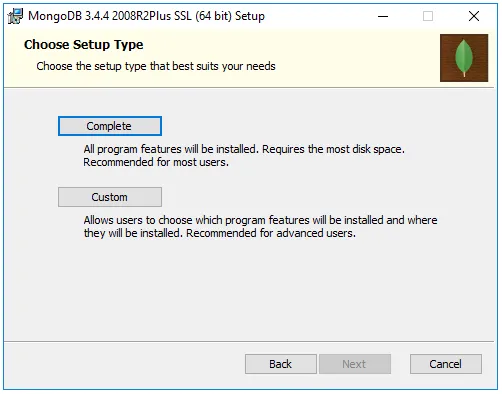
Select the “Complete” installation version as shown above.
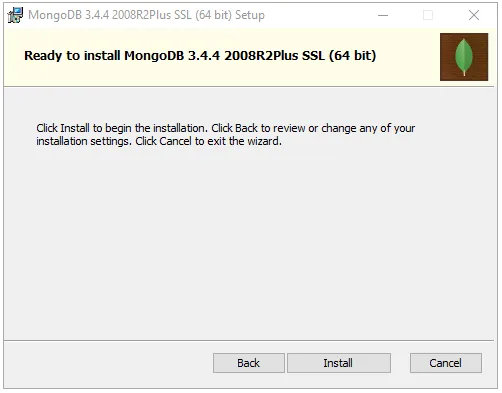
On the window above, simply press “Install” to start the installation.
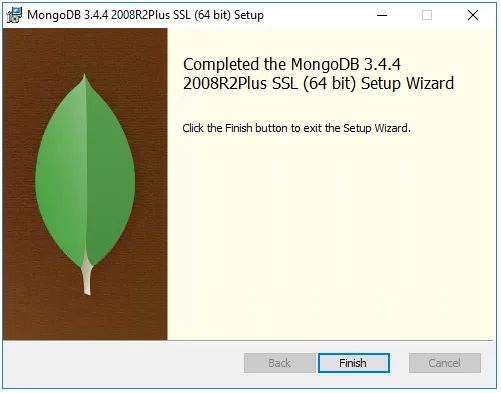
You should now have finished the installation, so simply press “Finish”.
Remember, you must repeat this on all three of your servers.
Step 3: Create database and log directories (on all three servers)
Create the following directories:
C:\ulyaoth\mongodb\data\dbC:\ulyaoth\mongodb\data\logC:\ulyaoth\mongodb\config
Step 4: Configure the Windows Firewall (on all three servers)
Normally this step is optional as the installer should add these rules automatically, but they do not always show up. In case you require them, here are the manual steps:
Go to your Control Panel, click on Network and Internet, then click on Network and Sharing Center. On the bottom left side, click on Windows Firewall.
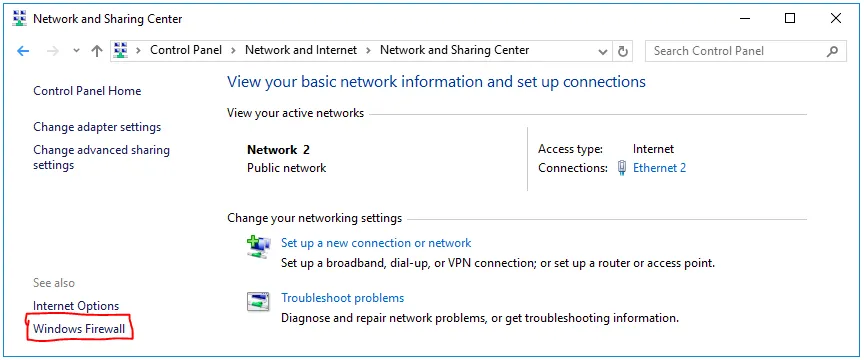
You should now see your Windows Firewall settings like this:
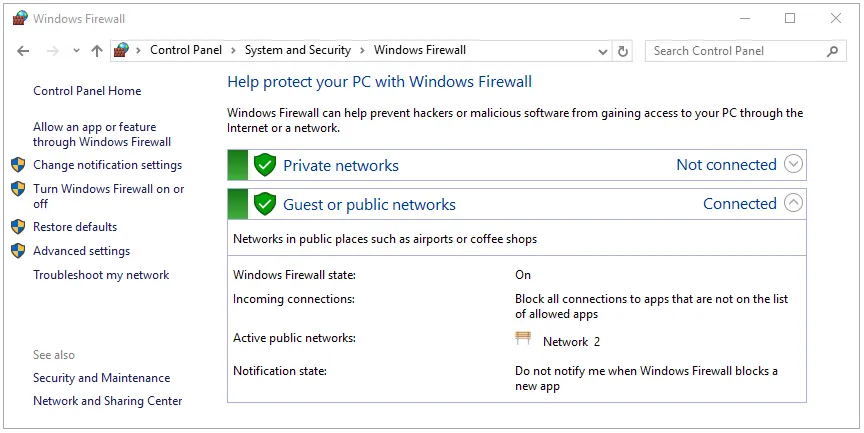
On this window, click on “Allow an app or feature through Windows Firewall.” The window will change; click on “Allow another app…” and browse to the MongoDB folder. Choose the following path: C:\Program Files\MongoDB\Server\3.4\bin\mongod.exe. It should look like this:
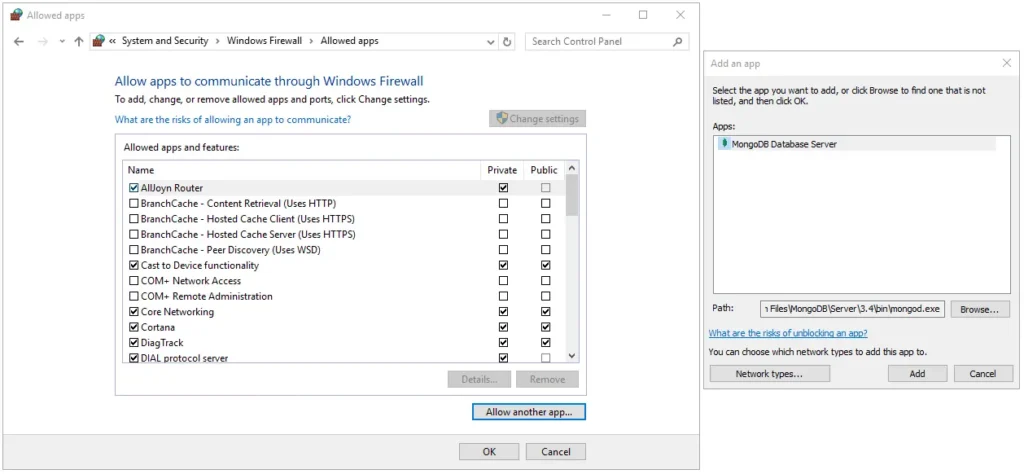
If everything looks like the image above, press Add to allow the app through the firewall.
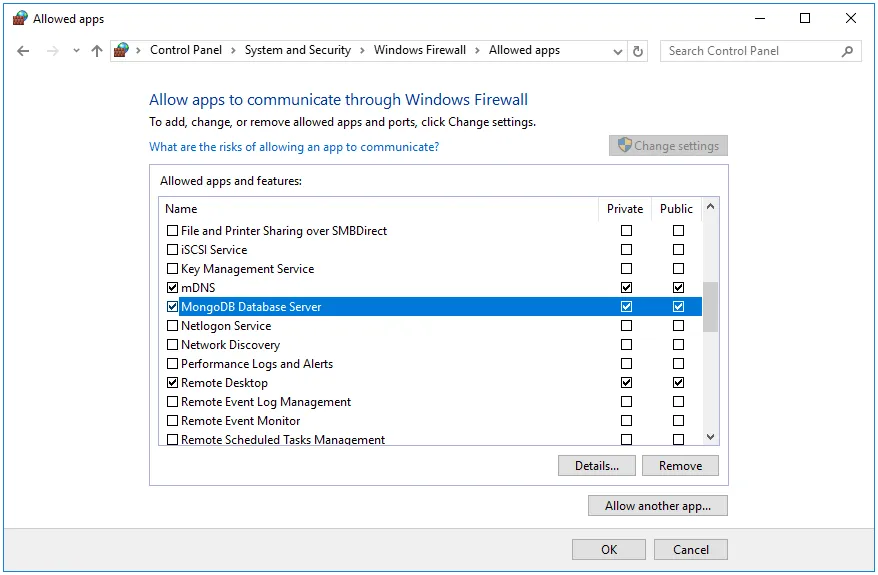
If everything matches the picture above, simply close the Firewall by pressing the “OK” button.
Step 5: Create a MongoDB config file (on all three servers)
Open Notepad and add the following information:
systemLog:
  destination: file
  path: "C:/ulyaoth/mongodb/data/log/mongod.log"
  logAppend: true
storage:
  dbPath: "C:/ulyaoth/mongodb/data/db"
  journal:
    enabled: true
net:
  bindIp: 0.0.0.0
  port: 27017
replication:
  replSetName: ulyaoth
Once added, save the file as “mongod.conf” in the following directory: C:\ulyaoth\mongodb\config\
You should end up with: C:\ulyaoth\mongodb\config\mongod.conf
Step 6: Create a service to auto-start MongoDB (on all three servers)
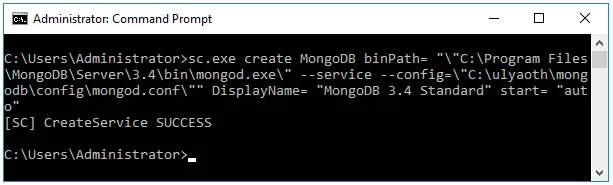
Open a Command Prompt and type the following:
sc.exe create MongoDB binPath= "\"C:\Program Files\MongoDB\Server\3.4\bin\mongod.exe\" --service --config=\"C:\ulyaoth\mongodb\config\mongod.conf\"" DisplayName= "MongoDB 3.4 Standard" start= "auto"If done correctly, this will create the MongoDB service. It should look like this:
If you ever wish to delete the service, you can do so with the following command: sc.exe delete MongoDB
Step 7: Start MongoDB (on all three servers)
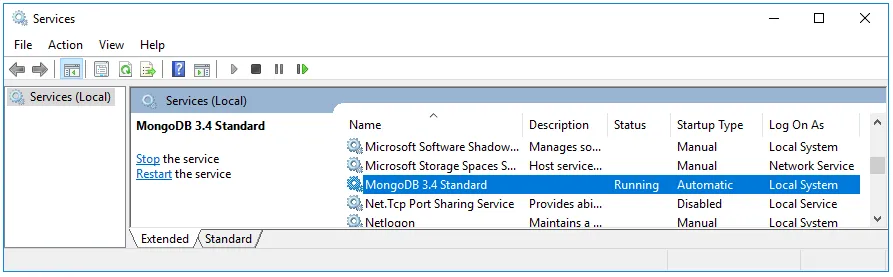
Restart the server; MongoDB should start automatically. This is a good test to ensure the previous commands worked. You can check if MongoDB started by right-clicking the Start menu, selecting “Run,” typing services.msc, and pressing OK.
Scroll to “MongoDB 3.4 Standard”; the status should say “Running,” as seen in the screenshot below.
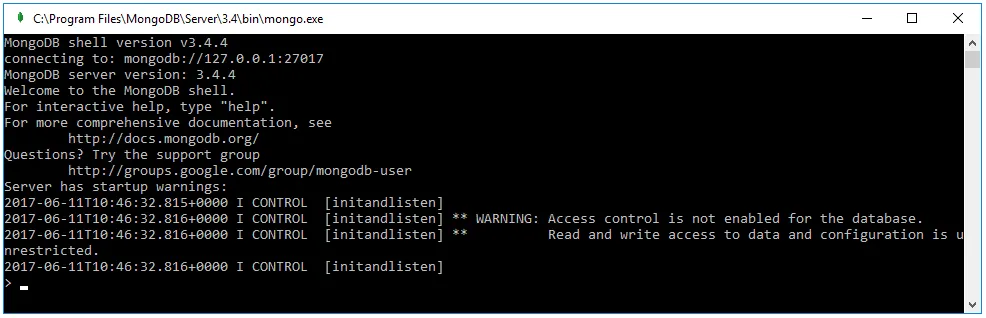
Step 8: Enter the MongoDB shell (only on Server One)
Navigate to C:\Program Files\MongoDB\Server\3.4\bin and double-click on “mongo”. A terminal window should open that looks like this:
Step 9: Create the replica set (only on Server One)
While in the mongo shell, type the following commands:
rs.initiate()
rs.add("mongodb02:27017")
rs.add("mongodb03:27017")
cfg = rs.conf()
cfg.members[0].priority = 100
cfg.members[1].priority = 50
cfg.members[2].priority = 50
rs.reconfig(cfg)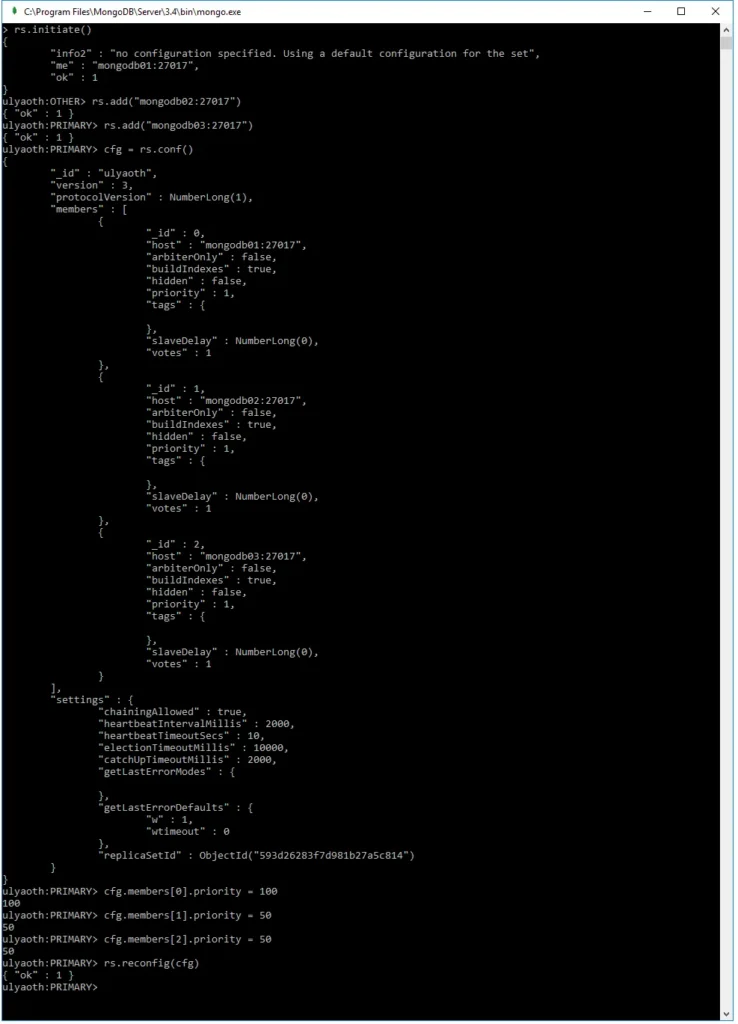
Please be aware: if you cannot reach the names “mongodb02” or “mongodb03,” you must use the full IP address of the server or add them to your hosts file (see screenshot below).
Step 10: Test your configuration (only on Server One)
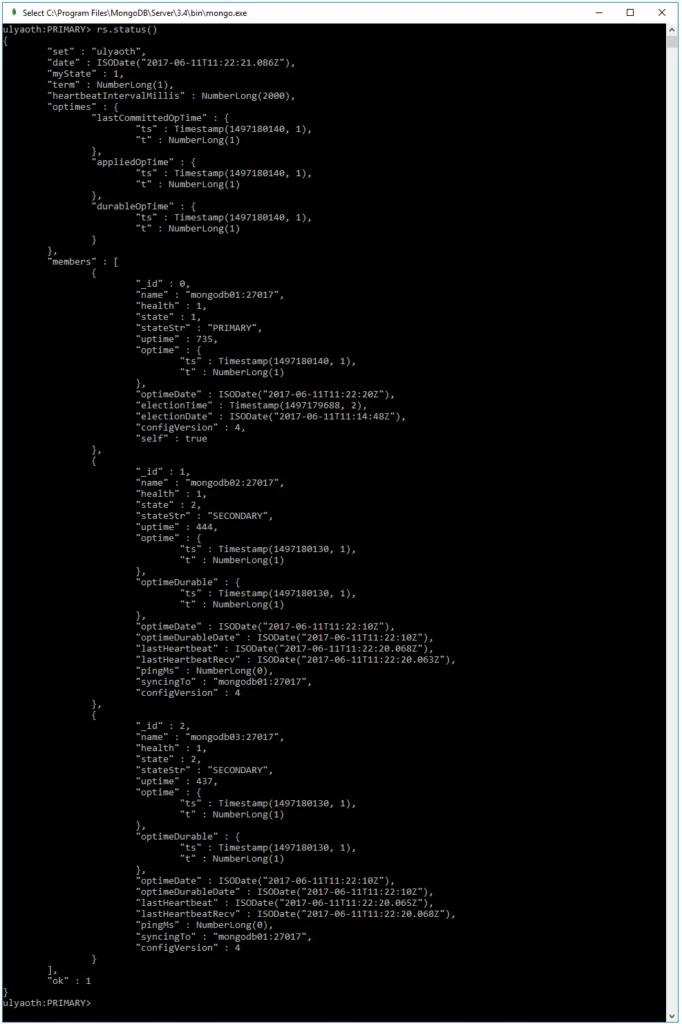
While still in the mongo shell, type:
rs.status()You should see something like this if everything is correct:
Congratulations! You have successfully installed MongoDB on Windows and set it up with replication. Now, let’s test that the replication works by creating a database on the primary (mongodb01).
Step 11: Create a test collection on the Primary (only on Server One)
In the mongo shell, type the following:
use ulyaoth
u = { name : "ulyaothtutorials" }
db.Data.insert( u )
show dbs
show collections
db.Data.find()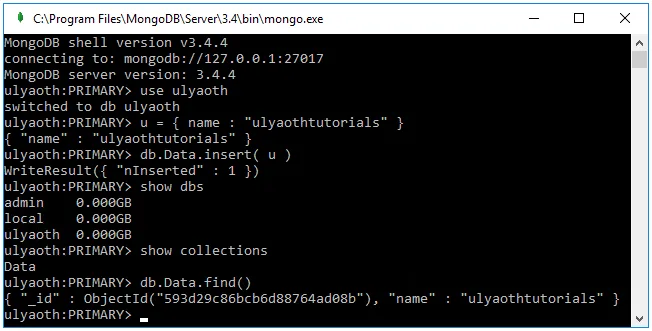
As you can see, show dbs displayed the “ulyaoth” database, show collections showed the “Data” collection, and db.Data.find() confirmed that the collection contains the information.
Now, if everything worked as intended, this data should have replicated to mongodb02 and mongodb03. Let’s test it!
Step 12: Check if the Secondaries have data (on Server Two or Three)
Go to your second or third server, open a mongo shell by double-clicking the “mongo” file, and run the following commands:
rs.slaveOk()
show dbs
use ulyaoth
show collections
db.Data.find()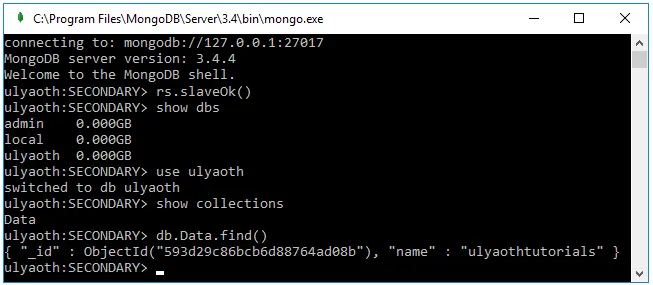
The command rs.slaveOk() allows you to read from a secondary; by default, this is not enabled.
If you wish to drop the “ulyaoth” database later, you can use these two commands:
use ulyaoth
db.dropDatabase();
That’s it! Everything worked, and you can now use your MongoDB replica set for whatever you like.