Archive: This content is maintained for historical reference. Please note that the specific versions and commands may no longer be compatible with modern systems.
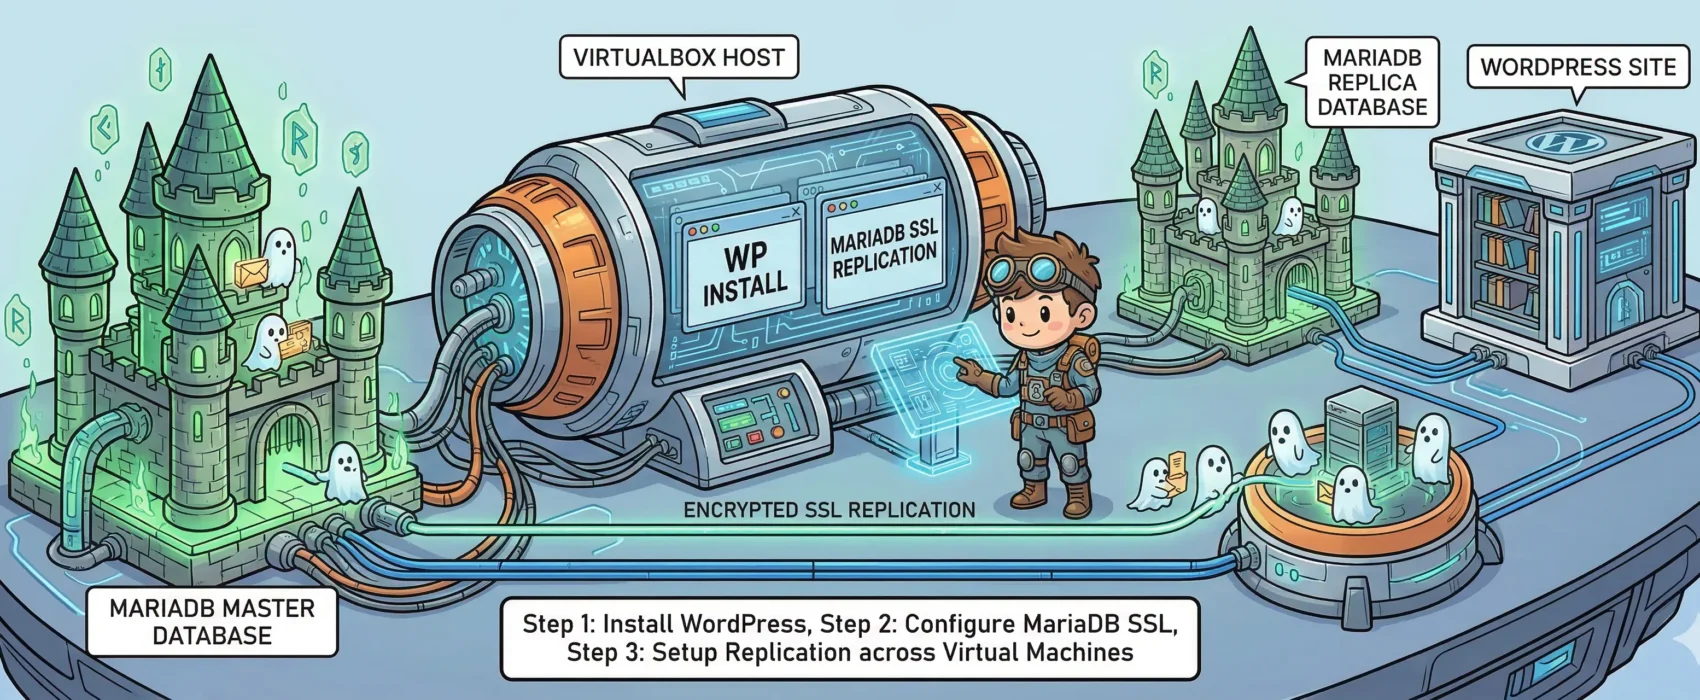
In this guide, I will demonstrate how to set up a WordPress installation running on Nginx with php-fpm. This setup connects to a MariaDB database utilizing SSL replication. Additionally, I have configured Nginx so that wp-login and wp-admin traffic is forced over SSL for security.
I chose Fedora for this guide, but with minor tweaks, these steps should work on almost any Linux distribution.
To begin, create three virtual machines in VirtualBox using a bridged network (or follow a guide to set up SSH access to each guest). My environment is configured as follows:
- db01: 10.0.0.1 (40GB disk, 2GB RAM, 2 Cores) — Master Database
- db02: 10.0.0.2 (40GB disk, 2GB RAM, 2 Cores) — Slave Database
- blog01: 10.0.0.3 (40GB disk, 2GB RAM, 2 Cores) — Web Server
Note: While WordPress can run on a single core with 512MB of RAM, we are using three instances to demonstrate proper separation of services and encrypted replication.
Step 1: Create the SSL directory on DB01 and DB02
$ sudo mkdir -p /etc/mariadb/sslCRITICAL: When creating certificates, pay attention to the details. Do not use the same “Common Name” (CN) for all three certificates!
Step 2: Create the CA certificate on DB01
Generate the key and the certificate in your home directory:
$ sudo openssl genrsa 4096 > ca-key.pem
$ sudo openssl req -new -x509 -nodes -days 3600 -key ca-key.pem -out ca-cert.pem
Example values I used:
- Country: SE
- State: Stockholm
- Locality: Stockholm
- Organization: Ulyaoth
- Common Name: ulyaoth.net
Step 3: Create the Server certificate on DB01
$ sudo openssl req -newkey rsa:4096 -days 3600 -nodes -keyout server-key.pem -out server-req.pem
$ sudo openssl rsa -in server-key.pem -out server-key.pem
$ sudo openssl x509 -req -in server-req.pem -days 3600 -CA ca-cert.pem -CAkey ca-key.pem -set_serial 01 -out server-cert.pem
Example Common Name used: MariaDB Server
Step 4: Create the Client certificate on DB01
$ sudo openssl req -newkey rsa:4096 -days 3600 -nodes -keyout client-key.pem -out client-req.pem
$ sudo openssl rsa -in client-key.pem -out client-key.pem
$ sudo openssl x509 -req -in client-req.pem -days 3600 -CA ca-cert.pem -CAkey ca-key.pem -set_serial 01 -out client-cert.pem
Example Common Name used: MariaDB Client
Step 5: Verify the certificates on DB01
$ sudo openssl verify -CAfile ca-cert.pem server-cert.pem client-cert.pem
The result should be: OK
Step 6: Copy certificates to the SSL directory on DB01
$ sudo cp *.pem /etc/mariadb/ssl/
Step 7: Copy certificates from DB01 to DB02
$ sudo scp /etc/mariadb/ssl/*.pem root@10.0.0.2:/etc/mariadb/ssl/
Step 8: Install MariaDB on DB01 and DB02
$ sudo yum install mariadb mariadb-server -y
Step 9: Initialize the configuration file
Copy the small-footprint example config to the live location on both DB servers:
$ sudo cp /usr/share/mysql/my-small.cnf /etc/my.cnf
Step 10: Configure MariaDB on DB01 (Master)
$ sudo vi /etc/my.cnf
Add under [client]:
ssl-ca=/etc/mariadb/ssl/ca-cert.pem
Add/Change under [mysqld]:
ssl-ca=/etc/mariadb/ssl/ca-cert.pem
ssl-cert=/etc/mariadb/ssl/server-cert.pem
ssl-key=/etc/mariadb/ssl/server-key.pem
log-bin=mysql-bin
binlog_format=mixed
Step 11: Configure MariaDB on DB02 (Slave)
$ sudo vi /etc/my.cnf
Add under [client] and [mysqld] the same SSL lines as Step 10. Then ensure the following is set:
server-id = 2
log-bin=mysql-bin
binlog_format=mixed
Step 12: Start MariaDB on DB01 and DB02
$ sudo systemctl start mariadb.service
Step 13: Enable MariaDB to start on boot
$ sudo systemctl enable mariadb.service
Step 14: Run the Secure Installation script
$ sudo /usr/bin/mysql_secure_installation
(Follow the prompts to set a root password, remove anonymous users, and disallow remote root login.)
Step 15: Login to MariaDB on DB01
$ sudo mysql -u root -p
Step 16: Create the Replication User (On DB01)
GRANT REPLICATION SLAVE ON *.* TO 'repl'@'%' IDENTIFIED BY 'yourpassword' REQUIRE SSL;
GRANT REPLICATION SLAVE ON *.* TO 'repl'@'10.0.0.2' IDENTIFIED BY 'yourpassword' REQUIRE SSL;
FLUSH PRIVILEGES;
Step 17: Verify SSL Status on DB01
SHOW GLOBAL VARIABLES LIKE '%ssl%';
Ensure have_ssl and have_openssl are YES.
Step 18: Get Binary Log information from DB01
SHOW MASTER STATUS;
Note the File and Position (e.g., mysql-bin.000001, 245).
Step 19: Login to MariaDB on DB02
$ sudo mysql -u root -p
Step 20: Verify SSL Status on DB02
(Run the same command as Step 17 to ensure SSL is active.)
Step 21: Configure the Slave connection on DB02
CHANGE MASTER TO
MASTER_HOST='10.0.0.1',
MASTER_USER='repl',
MASTER_PASSWORD='yourpassword',
MASTER_PORT=3306,
MASTER_LOG_FILE='mysql-bin.000001',
MASTER_LOG_POS=245,
MASTER_SSL=1,
MASTER_SSL_CA = '/etc/mariadb/ssl/ca-cert.pem',
MASTER_SSL_CERT = '/etc/mariadb/ssl/client-cert.pem',
MASTER_SSL_KEY = '/etc/mariadb/ssl/client-key.pem';
Step 22: Start the Slave process on DB02
START SLAVE;
Step 23: Verify Replication Status on DB02
SHOW SLAVE STATUS\G
Check that Slave_IO_Running and Slave_SQL_Running are both Yes.
Troubleshooting: If you see connection errors (113), apply the firewall rules below on both DB servers:
$ sudo firewall-cmd --permanent --zone=public --add-port=3306/tcp
$ sudo firewall-cmd --reload
Step 24: Create the WordPress Database and User (On DB01)
CREATE DATABASE wordpress;
GRANT ALL PRIVILEGES ON wordpress.* TO "blogninja"@"%" IDENTIFIED BY "password";
GRANT ALL PRIVILEGES ON wordpress.* TO "blogninja"@"10.0.0.3" IDENTIFIED BY "password";
FLUSH PRIVILEGES;
Step 25: Exit the MariaDB client
EXIT;
Step 26: Test SSL connection and Replication
$ sudo mysql -u blogninja -ppassword -h 10.0.0.1 -e '\s' | grep SSL
This should show the cipher in use on both servers.
Step 27: Install Web Packages on BLOG01
$ sudo yum install nginx tar wget vim policycoreutils-python zip php-fpm php-mysqlnd php-gd php-mbstring php-xml -y
Step 28: Create Web and Log Directories on BLOG01
$ sudo mkdir -p /var/log/nginx/wordpress /usr/share/nginx/wordpress/public /etc/nginx/sites-available /etc/nginx/sites-enabled /var/lib/php/wordpresssession /etc/nginx/ssl
Step 29: Create Nginx SSL Certificates on BLOG01
(Follow the same process as Steps 2 & 3, but use “Nginx” as the Common Name.)
Step 30: Verify Nginx Certificates
$ sudo openssl verify -CAfile ca-cert.pem server-cert.pem
Step 31: Move Certificates to Nginx SSL directory
$ sudo cp *.pem /etc/nginx/ssl/
Step 32: Configure Nginx
Replace the default nginx.conf and adjust worker_processes to match your CPU core count.
Step 33: Set up the WordPress Virtual Host
Download the vhost template, update your domain name for both ports 80 and 443, and create a symbolic link:
$ sudo ln -s /etc/nginx/sites-available/wordpress /etc/nginx/sites-enabled/wordpress
Step 34: Configure php-fpm
Replace the default php-fpm.conf and create a dedicated pool for WordPress.
Step 35: Install WordPress
$ cd /usr/share/nginx/wordpress/public
$ sudo wget http://wordpress.org/latest.tar.gz
$ sudo tar xzfv latest.tar.gz --strip-components=1
Step 36: Set Permissions
$ sudo useradd -s /sbin/nologin wordpress
$ sudo chown -R wordpress:nginx /usr/share/nginx/wordpress/
$ sudo chown -R wordpress:nginx /var/lib/php/wordpresssession
Step 37: Configure SELinux and Firewall
$ sudo setsebool -P httpd_can_network_connect on
$ sudo chcon -R -t httpd_sys_rw_content_t /usr/share/nginx/wordpress/public/
$ sudo firewall-cmd --permanent --add-service={http,https}
$ sudo firewall-cmd --reload
Step 53: Start Services
$ sudo systemctl start php-fpm nginx
$ sudo systemctl enable php-fpm nginx
You are finished! Navigate to your website and follow the WordPress web installer using the DB01 IP address as the database host.