Historical Note: This guide was written for macOS 10.7 Lion and Xcode 4.3. The Chromium build system has since moved from SVN to Git and uses
gninstead ofgyp. These instructions are preserved for historical reference only and will not work on modern systems.
What is Chromium?
Chromium is an open-source browser project that aims to build a safer, faster, and more stable way for all users to experience the web.
Prerequisites
- An Apple Developer account.
- An up-to-date version of Xcode (for Lion).
Installing Chromium from source on Mac OS X Lion is relatively straightforward. Most of the information below can be found on the official Chromium website, but I have consolidated it into this easy-to-read guide. This guide assumes you have a working version of Xcode installed.
Step 1: Create a build directory
First, create a directory to house the source code. (I created this in my home directory).
$ mkdir -p ~/Programs/Chromium/Step 2: Download depot_tools
Download the depot_tools into the directory you just created:
$ svn co https://src.chromium.org/svn/trunk/tools/depot_toolsStep 3: Add depot_tools to your PATH
$ export PATH="$PATH":pwd/depot_toolsStep 4: Create the working directory
This step requires the PATH from Step 3 to be set correctly:
$ gclient config https://src.chromium.org/svn/trunk/src https://chromium-status.appspot.com/lkgrStep 5: Edit the .gclient file
Open the .gclient file using a text editor:
$ vi .gclientStep 6: Configure the solutions
Update the file to match the following configuration. By adding these custom_deps, we tell the system not to download unnecessary test data and reference builds, which speeds up the process.
solutions = [
  { "name"        : "src",
    "url"         : "https://src.chromium.org/svn/trunk/src",
    "deps_file"   : "DEPS",
    "managed"     : True,
    "custom_deps" : {
      "src/third_party/WebKit/LayoutTests": None,
      "src/chrome/tools/test/reference_build/chrome": None,
      "src/chrome_frame/tools/test/reference_build/chrome": None,
      "src/chrome/tools/test/reference_build/chrome_linux": None,
      "src/chrome/tools/test/reference_build/chrome_mac": None,
      "src/third_party/hunspell_dictionaries": None,
    },
    "safesync_url": "https://chromium-status.appspot.com/lkgr",
  },
]
Step 7: Check the Tree Status
Before downloading, ensure the Chromium build “tree” is in a healthy state by checking: https://chromium-build.appspot.com/p/chromium/console
- OPEN: The tree is in a good state; you can proceed to compile.
- CLOSED: There may be compile or test failures. It is best to check back later.
Step 8: Download the source code
Run the following command (you may need to permanently accept the SSL certificate):
$ gclient syncNote: If you already have the source and want to update to a specific revision, use:
$ gclient sync --revision src@#####Step 9: Regenerate build files
I am using Ninja for this guide, though Xcode is an alternative. Navigate into the src directory and run the following (optimized for Xcode 4.3.2):
$ GYP_GENERATORS=ninja GYP_DEFINES=mac_sdk=10.6 ./build/gyp_chromiumStep 10: Build Chromium
Run the build command. On a MacBook Air (i7 with 4GB RAM), this typically takes between 45 minutes to an hour.
$ ninja -C out/Debug chromeStep 11: Install Chromium
Copy the newly built application to your Applications folder:
$ cp ~/Programs/Chromium/src/out/Debug/Chromium.app /ApplicationsStep 12: Launch
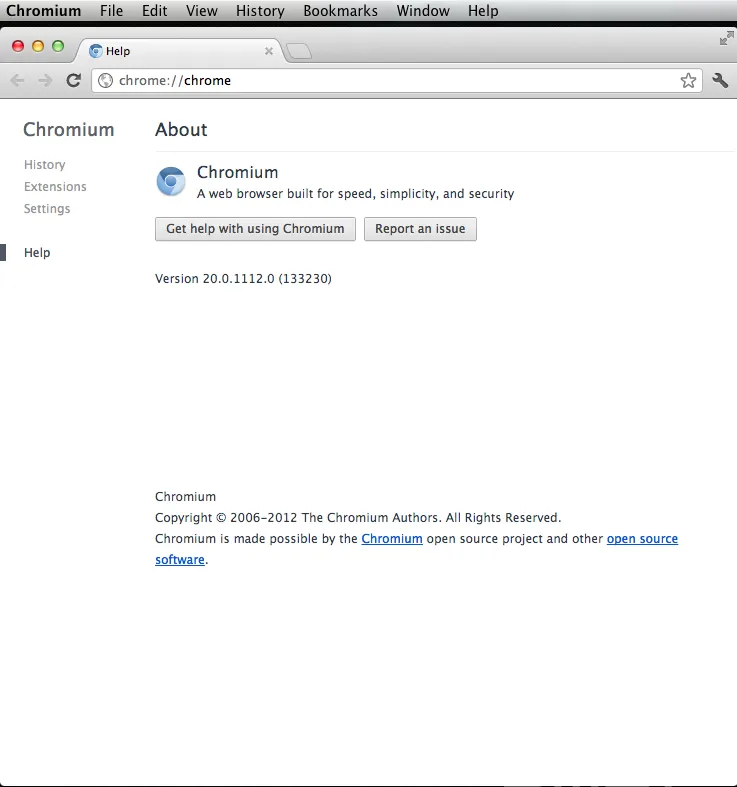
Go to your Applications folder and double-click the Chromium icon to start the browser.
Possible Errors
Missing ‘sys/types.h’ If you receive the error fatal error: 'sys/types.h' file not found, it is likely because Xcode has not set the developer path automatically. You can resolve this by running:
$ sudo xcode-select -switch /Applications/Xcode.app/Contents/Developer