Archive: This content is maintained for historical reference. Please note that the specific versions and commands may no longer be compatible with modern systems.
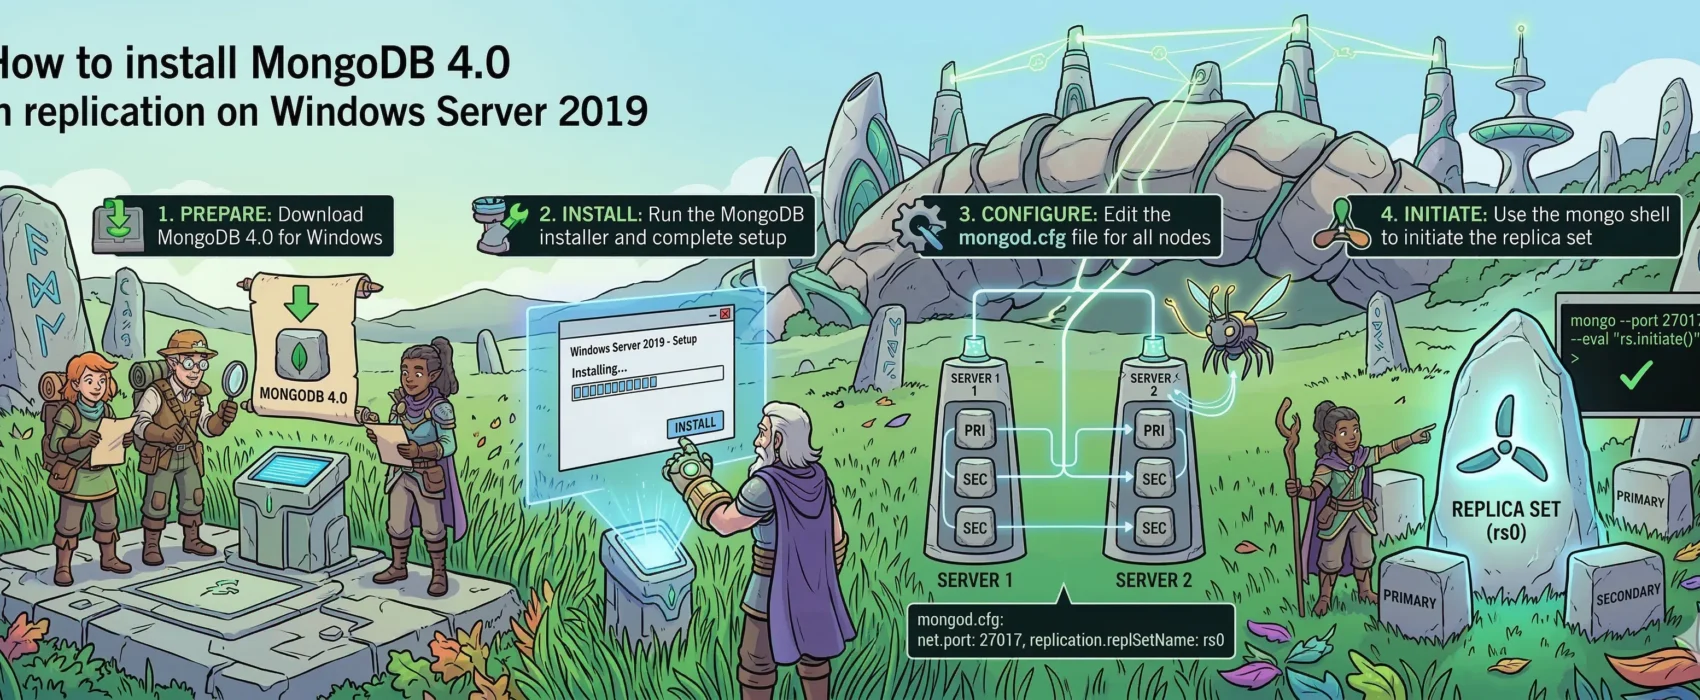
In this guide, I will walk you through the steps to configure a MongoDB replica set on Windows Server.
Environment Overview
This guide was tested using Windows Server 2019. For this setup, I am using three AWS EC2 instances:
- Instance Type:
t2.large
(Note: While T-series instances are cost-effective for tutorials, they are generally not recommended for production databases due to CPU credits/burstable performance.)
- mongodb01:
172.31.38.70 - mongodb02:
172.31.35.197 - mongodb03:
172.31.47.236
Prerequisites
Before we begin, ensure all servers are in the same Workgroup or Domain. If they are not, you must manually add the IP addresses and hostnames to the hosts file on each server so that MongoDB can resolve the connections.
Let’s get started!
Step 1: Download MongoDB (All Servers)
MongoDB provides standard Windows Installer (.msi) packages. You will need to perform these steps on all three servers.
- Visit the MongoDB Download Center.
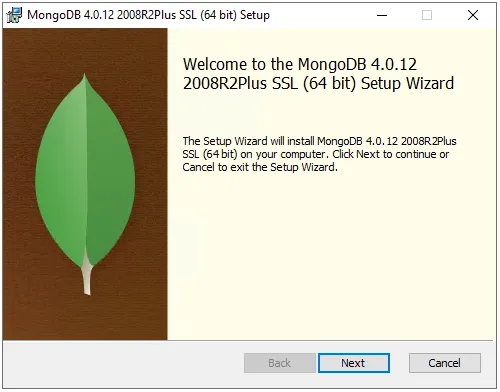
- Download the current installer. For this guide, we are using the file below.
https://fastdl.mongodb.org/win32/mongodb-win32-x86_64-2008plus-ssl-4.0.12-signed.msiNote on Compatibility: Although the filename mentions “Windows Server 2008,” this package is fully compatible and runs reliably on Windows Server 2019.
Step 2: Install MongoDB
Follow the installation wizard steps below on all three servers.
Installation Walkthrough
1. Welcome Screen: Launch the installer and click Next.
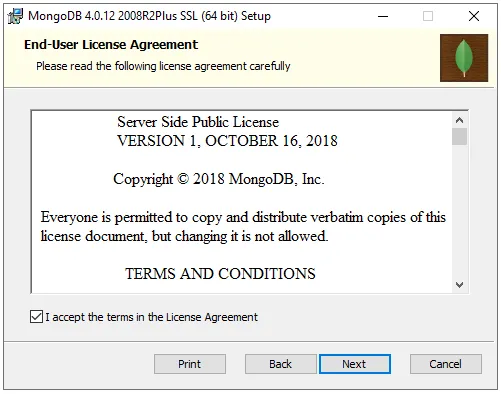
2. License Agreement: Review the terms, check the box to accept the license agreement, and click Next.
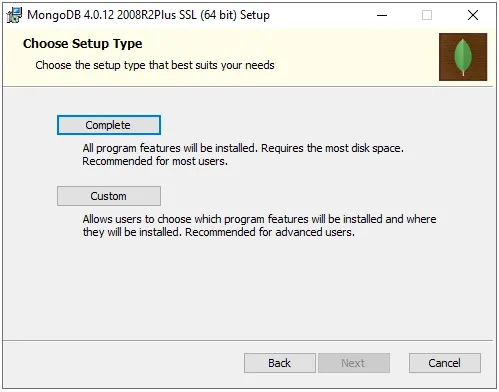
3. Setup Type: Select the Complete installation button.
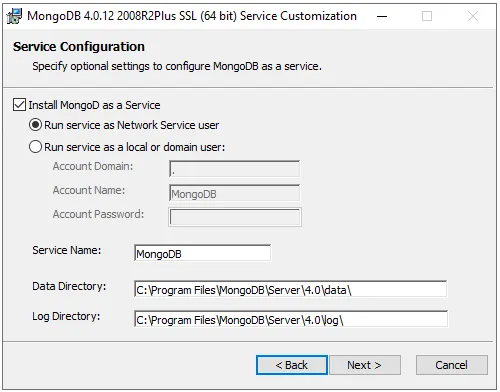
4. Service Configuration: For this tutorial, we will keep the default service settings. Click Next to proceed.
5. Optional Features: Leave the default selections as they are (e.g., MongoDB Compass) and click Next once more.

6. Ready to Install: Click Install to begin the process.

7. Completion: Once the status bar finishes, click Finish to exit the wizard.
Reminder: Ensure you repeat this entire process on your other two servers (
mongodb02andmongodb03) before moving to the configuration step.
Step 3: Update the MongoDB Configuration File
To allow the servers to communicate with each other, we need to modify the configuration file on each of the three servers.
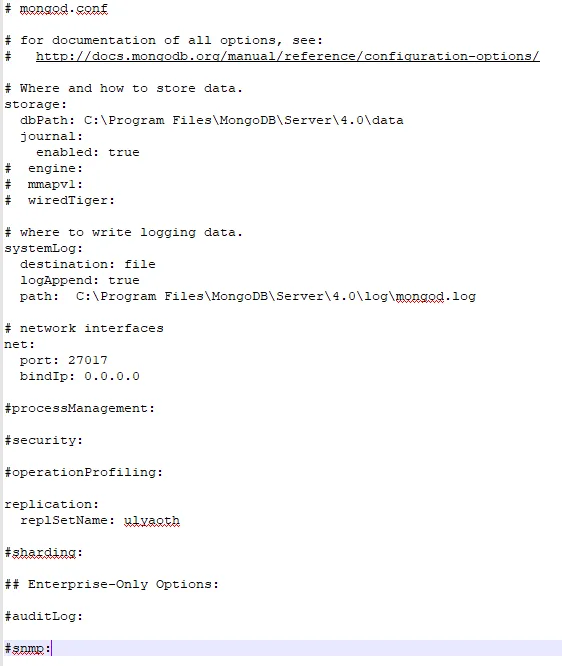
1. Locate and Open the Config File
Navigate to the following directory and open mongod.cfg in a text editor (such as Notepad, run as Administrator):
C:\Program Files\MongoDB\Server\4.0\bin\mongod.cfg2. Modify Network Settings
Find the net: section and locate the bindIp setting.
- Change:
bindIp: 127.0.0.1 - To:
bindIp: 0.0.0.0
Security Note: Setting this to
0.0.0.0allows MongoDB to listen on all available network interfaces. While this is fine for a tutorial, in a production environment, you should restrict this to the server’s specific private IP address for better security.
3. Enable Replication
Find the #replication: section. You will need to uncomment it (remove the #) and define your replica set name.
- Change: “`yaml #replication:
- To:
replication:
  replSetName: ulyaoth
Your configuration file should now look similar to this:
4. Restart the MongoDB Service
For these changes to take effect, you must restart the service:
- Open Services (Type
services.mscin the Start menu). - Locate the MongoDB Server service.
- Right-click it and select Restart.
Ensure you have completed these steps on all three servers before proceeding.
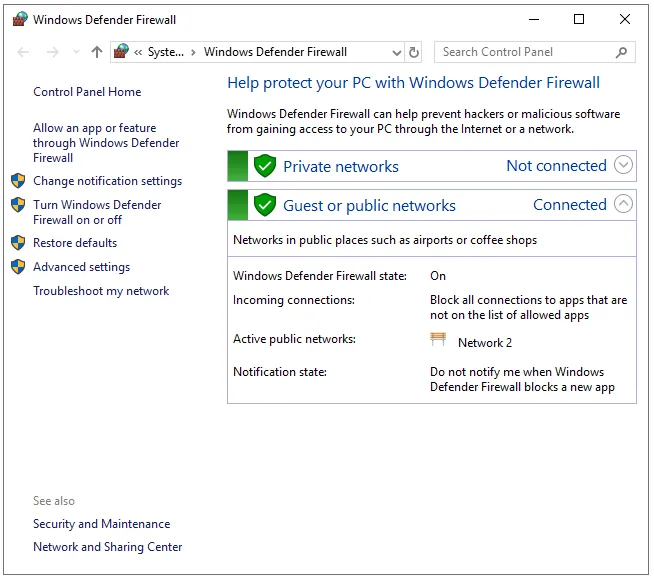
Step 4: Configure Windows Defender Firewall
By default, Windows will block the connections MongoDB needs to communicate between servers. You must perform these steps on all three servers.
1. Open Firewall Settings
Search for Windows Defender Firewall in the Start menu and open the application.
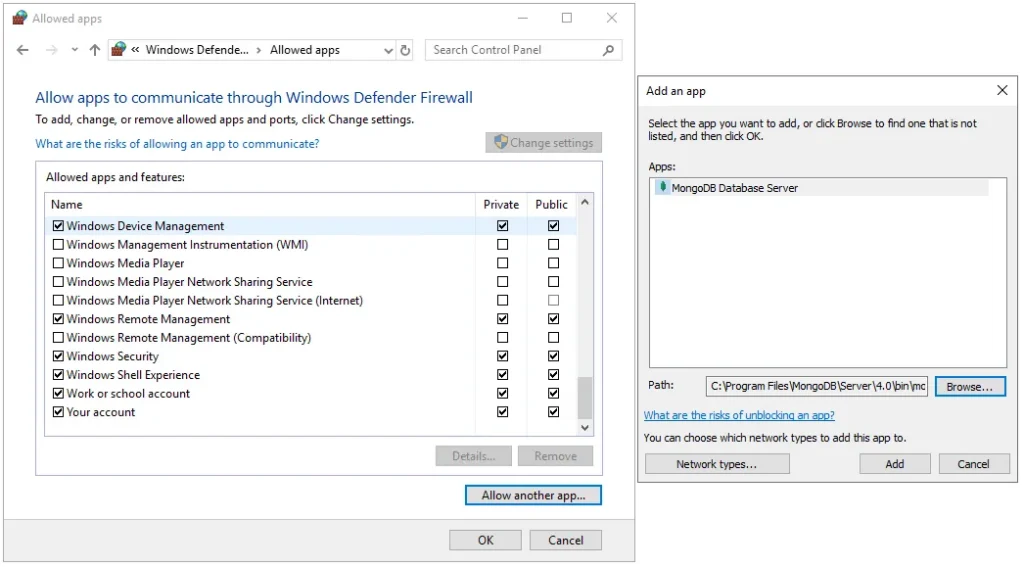
2. Allow the MongoDB Executable
- In the left-hand menu, click Allow an app or feature through Windows Defender Firewall.
- Click the Change settings button (if prompted for Administrator permission).
- Click Allow another app… at the bottom of the window.
- Click Browse and navigate to the following path:
C:\Program Files\MongoDB\Server\4.0\bin\mongod.exe - Click Open, then click Add.
3. Verify and Save
Ensure that MongoDB Database Server (or mongod.exe) now appears in the list of allowed apps and that the checkboxes for your network type (typically Private or Domain) are selected.
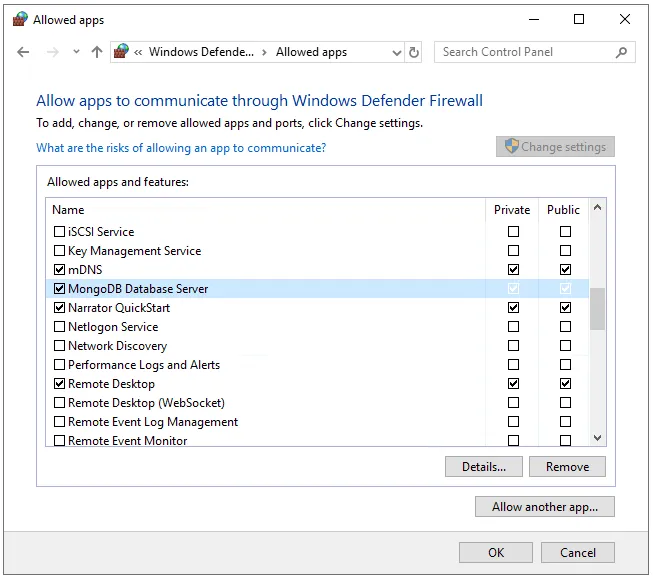
Click OK to save your changes and close the window.
Step 5: Access the MongoDB Shell (Primary Server Only)
You only need to perform the remaining steps on your first server (mongodb01).
1. Launch the Shell
Navigate to the MongoDB binary directory in File Explorer:
C:\Program Files\MongoDB\Server\4.0\binLocate the application named mongo (the executable shell) and double-click it. A terminal window will open, connecting you to the local MongoDB instance.

Step 6: Initialize the Replica Set (Primary Server Only)
Now we will link the three servers together. Run these commands only in the MongoDB shell on your first server (mongodb01).
1. Initialize the Set
First, clear the screen for a clean workspace and initialize the replica set:
cls
rs.initiate()
2. Add Your Nodes
Add each server to the cluster using its IP address and the default MongoDB port (27017). Replace the placeholder IPs below with your actual server IPs:
rs.add("172.31.38.70:27017")
rs.add("172.31.35.197:27017")
rs.add("172.31.47.236:27017")
3. Configure Priorities
We will now set mongodb01 as the preferred Primary by giving it a higher priority:
cfg = rs.conf()

cfg.members[0].priority = 100
cfg.members[1].priority = 50
cfg.members[2].priority = 50

rs.reconfig(cfg)
Note: By setting a higher priority (100 vs 50), you are telling the cluster that
mongodb01should always be the Primary node unless it becomes unavailable.
Step 8: Verify the Replica Set Configuration
To ensure all servers are communicating and the election was successful, we will check the status of the cluster.
1. Check Status
Remaining in the MongoDB shell on your primary server, type the following command:
rs.status()2. Verify the Output
Look for the members section in the output. If your setup is correct, you should see your replica set name (ulyaoth) and your current server listed as PRIMARY:
ulyaoth:PRIMARY> rs.status()
{
  "set" : "ulyaoth",
  "myState" : 1,
  "term" : NumberLong(1),
  // ... other details ...
  "members" : [
    {
      "_id" : 0,
      "name" : "172.31.38.70:27017",
      "health" : 1,
      "state" : 1,
      "stateStr" : "PRIMARY",
      ...
    }
  ]
}
Congratulations! You have successfully installed MongoDB on Windows Server and configured a functional 3-node replica set.
Step 8: Create a Test Database and Collection
Now, let’s verify that our cluster is functional by creating some data on the Primary server (mongodb01).
1. Create Data on the Primary
If you closed the shell, reopen it as you did in Step 5. Run the following commands to create a database, a collection, and a document:
// Switch to a new database named 'ulyaoth'
use ulyaoth

// Define a simple document
u = { name : "ulyaothtutorials" }

// Insert the document into a collection named 'Data'
db.Data.insert( u )

// Verify the data exists
show dbs
show collections
db.Data.find()
2. Verify the Results
Your terminal should look similar to this:

What this confirms:
show dbs: Confirms theulyaothdatabase was created.show collections: Shows theDatacollection now exists within that database.db.Data.find(): Returns the document{ "name" : "ulyaothtutorials" }, confirming the write was successful.
Next Steps
If everything worked as intended, this data has already been replicated to your secondary servers (mongodb02 and mongodb03).
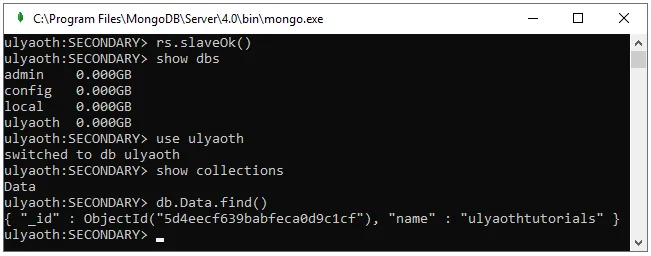
Step 9: Verify Replication on Secondary Servers
To confirm that our data is successfully replicating, we will check one of our other servers (mongodb02 or mongodb03).
1. Connect to a Secondary Server
Open the mongo shell on either mongodb02 or mongodb03 as you did in Step 5.
2. Enable Read Access
By default, MongoDB does not allow read operations on Secondary nodes to prevent accidental data inconsistency. You must explicitly enable it for your current session:
rs.secondaryOk()Note: In older versions, this command was
rs.slaveOk(). Both typically work, butsecondaryOk()is the modern standard.
3. Verify the Replicated Data
Run the following commands to ensure the data created on the Primary is now visible here:
show dbs
use ulyaoth
show collections
db.Data.find()
If the replication was successful, you will see the ulyaothtutorials document exactly as it appeared on the first server.
Cleanup (Optional)
If you are finished with this tutorial and wish to delete the test data, return to your Primary server and run:
use ulyaoth
db.dropDatabase()
Conclusion
Congratulations! You have successfully installed MongoDB on Windows Server and configured a fully functional 3-node replica set. Your database is now distributed, providing higher availability and data redundancy.